Assistive Access — iOS Easy Mode, Revisited
What is Assistive Access, you might ask? It’s an accessibility feature released in iOS 17, to “distill apps and experiences to their essential features in order to lighten cognitive load.” It offers bigger elements, scoped app functionality, and more consistent navigation.
When I wrote about Assistive Access’ beta, things were still in flux and not necessarily fully fleshed out.
There was, for example, no way to optimize your own apps for the larger
elements; the only API third party apps could use was an Info.plist key that
allows your app to use the space beyond the safe area,
like behind the Dynamic Island.
Since the iOS 26 release, you can now customize your app for Assistive Access like first party apps — mostly. There’s one caveat related to settings, but there are technically no limitations anymore.
Getting Started
Where on launch with iOS 17, there was the UISupportsFullScreenInAssistiveAccess
Info.plist key, iOS 26 introduced the similarly named UISupportsAssistiveAccess
key.
If your app already uses large(r) UI elements that don’t require further system- level optimizations, you can use the former key to allow your app to use the full screen, including safe areas.
If you want to build a separate flow for Assistive Access, in which you take advantage of native Assistive Access UI, adopt the latter key.
At that point, you can adopt an AssistiveAccess Scene:
var body: some Scene {
    WindowGroup {
        ContentView()
    }

    AssistiveAccess {
        AssistiveAccessContentView()
    }
}
The WindowGroup scene is launched in non-Assistive Access mode; otherwise the
AssistiveAccess scene is launched.
Before this API was announced, I was wondering if there’d be a more piece-meal
approach to opting in UI elements for Assistive Access, perhaps through the
.accessibilitySupportsLargeContentViewer API or similar.
Instead, Apple chose to pretty much only have this Scene API, which is
honestly great! It allows to rethink an app for Assistive Access from the ground
up, and does not require tricky changes or a separate target like with App
Clips.
So an interesting way to start would be to adopt the UISupportsAssistiveAccess
key, and then add your app-root in the AssistiveAccess scene, without any
further changes.
Show me the Money User Interface!
I built a small news app to take a look at Assistive Access, both from a user interface as from the perspective of an application’s flow in Assistive Access.
It looks like this on iPad, with three tabs:
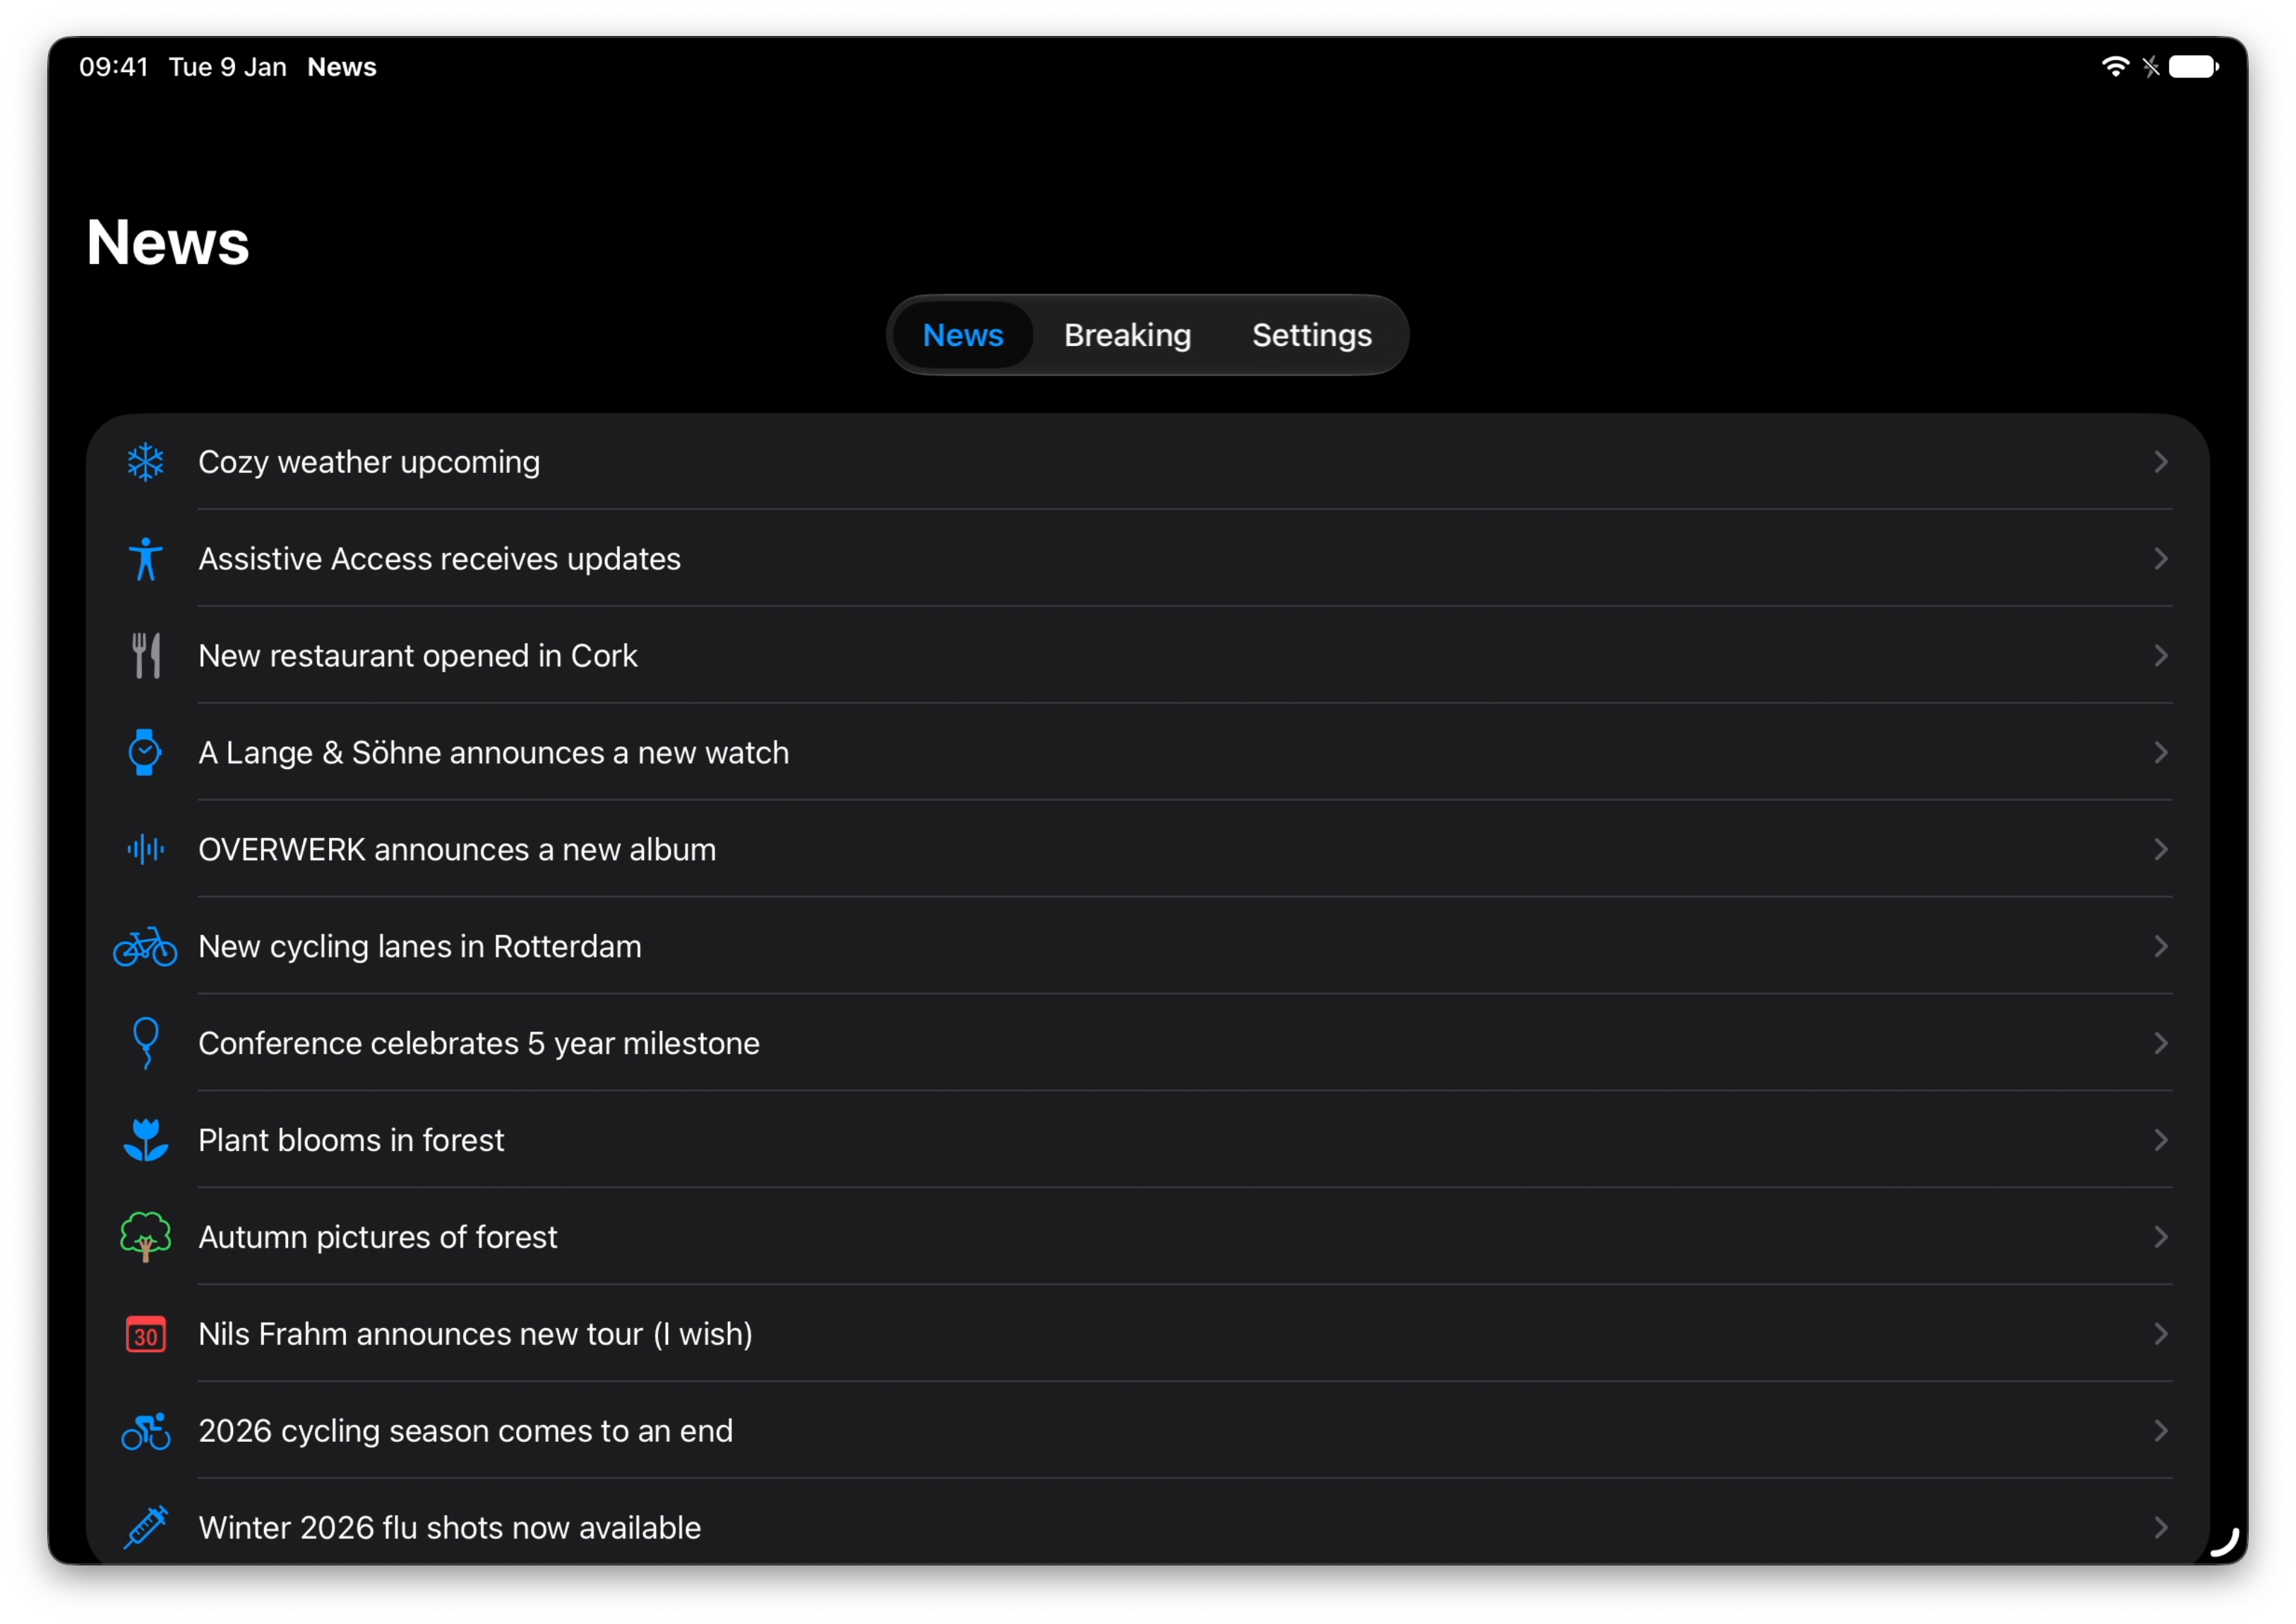 The News tab, showing all available articles.
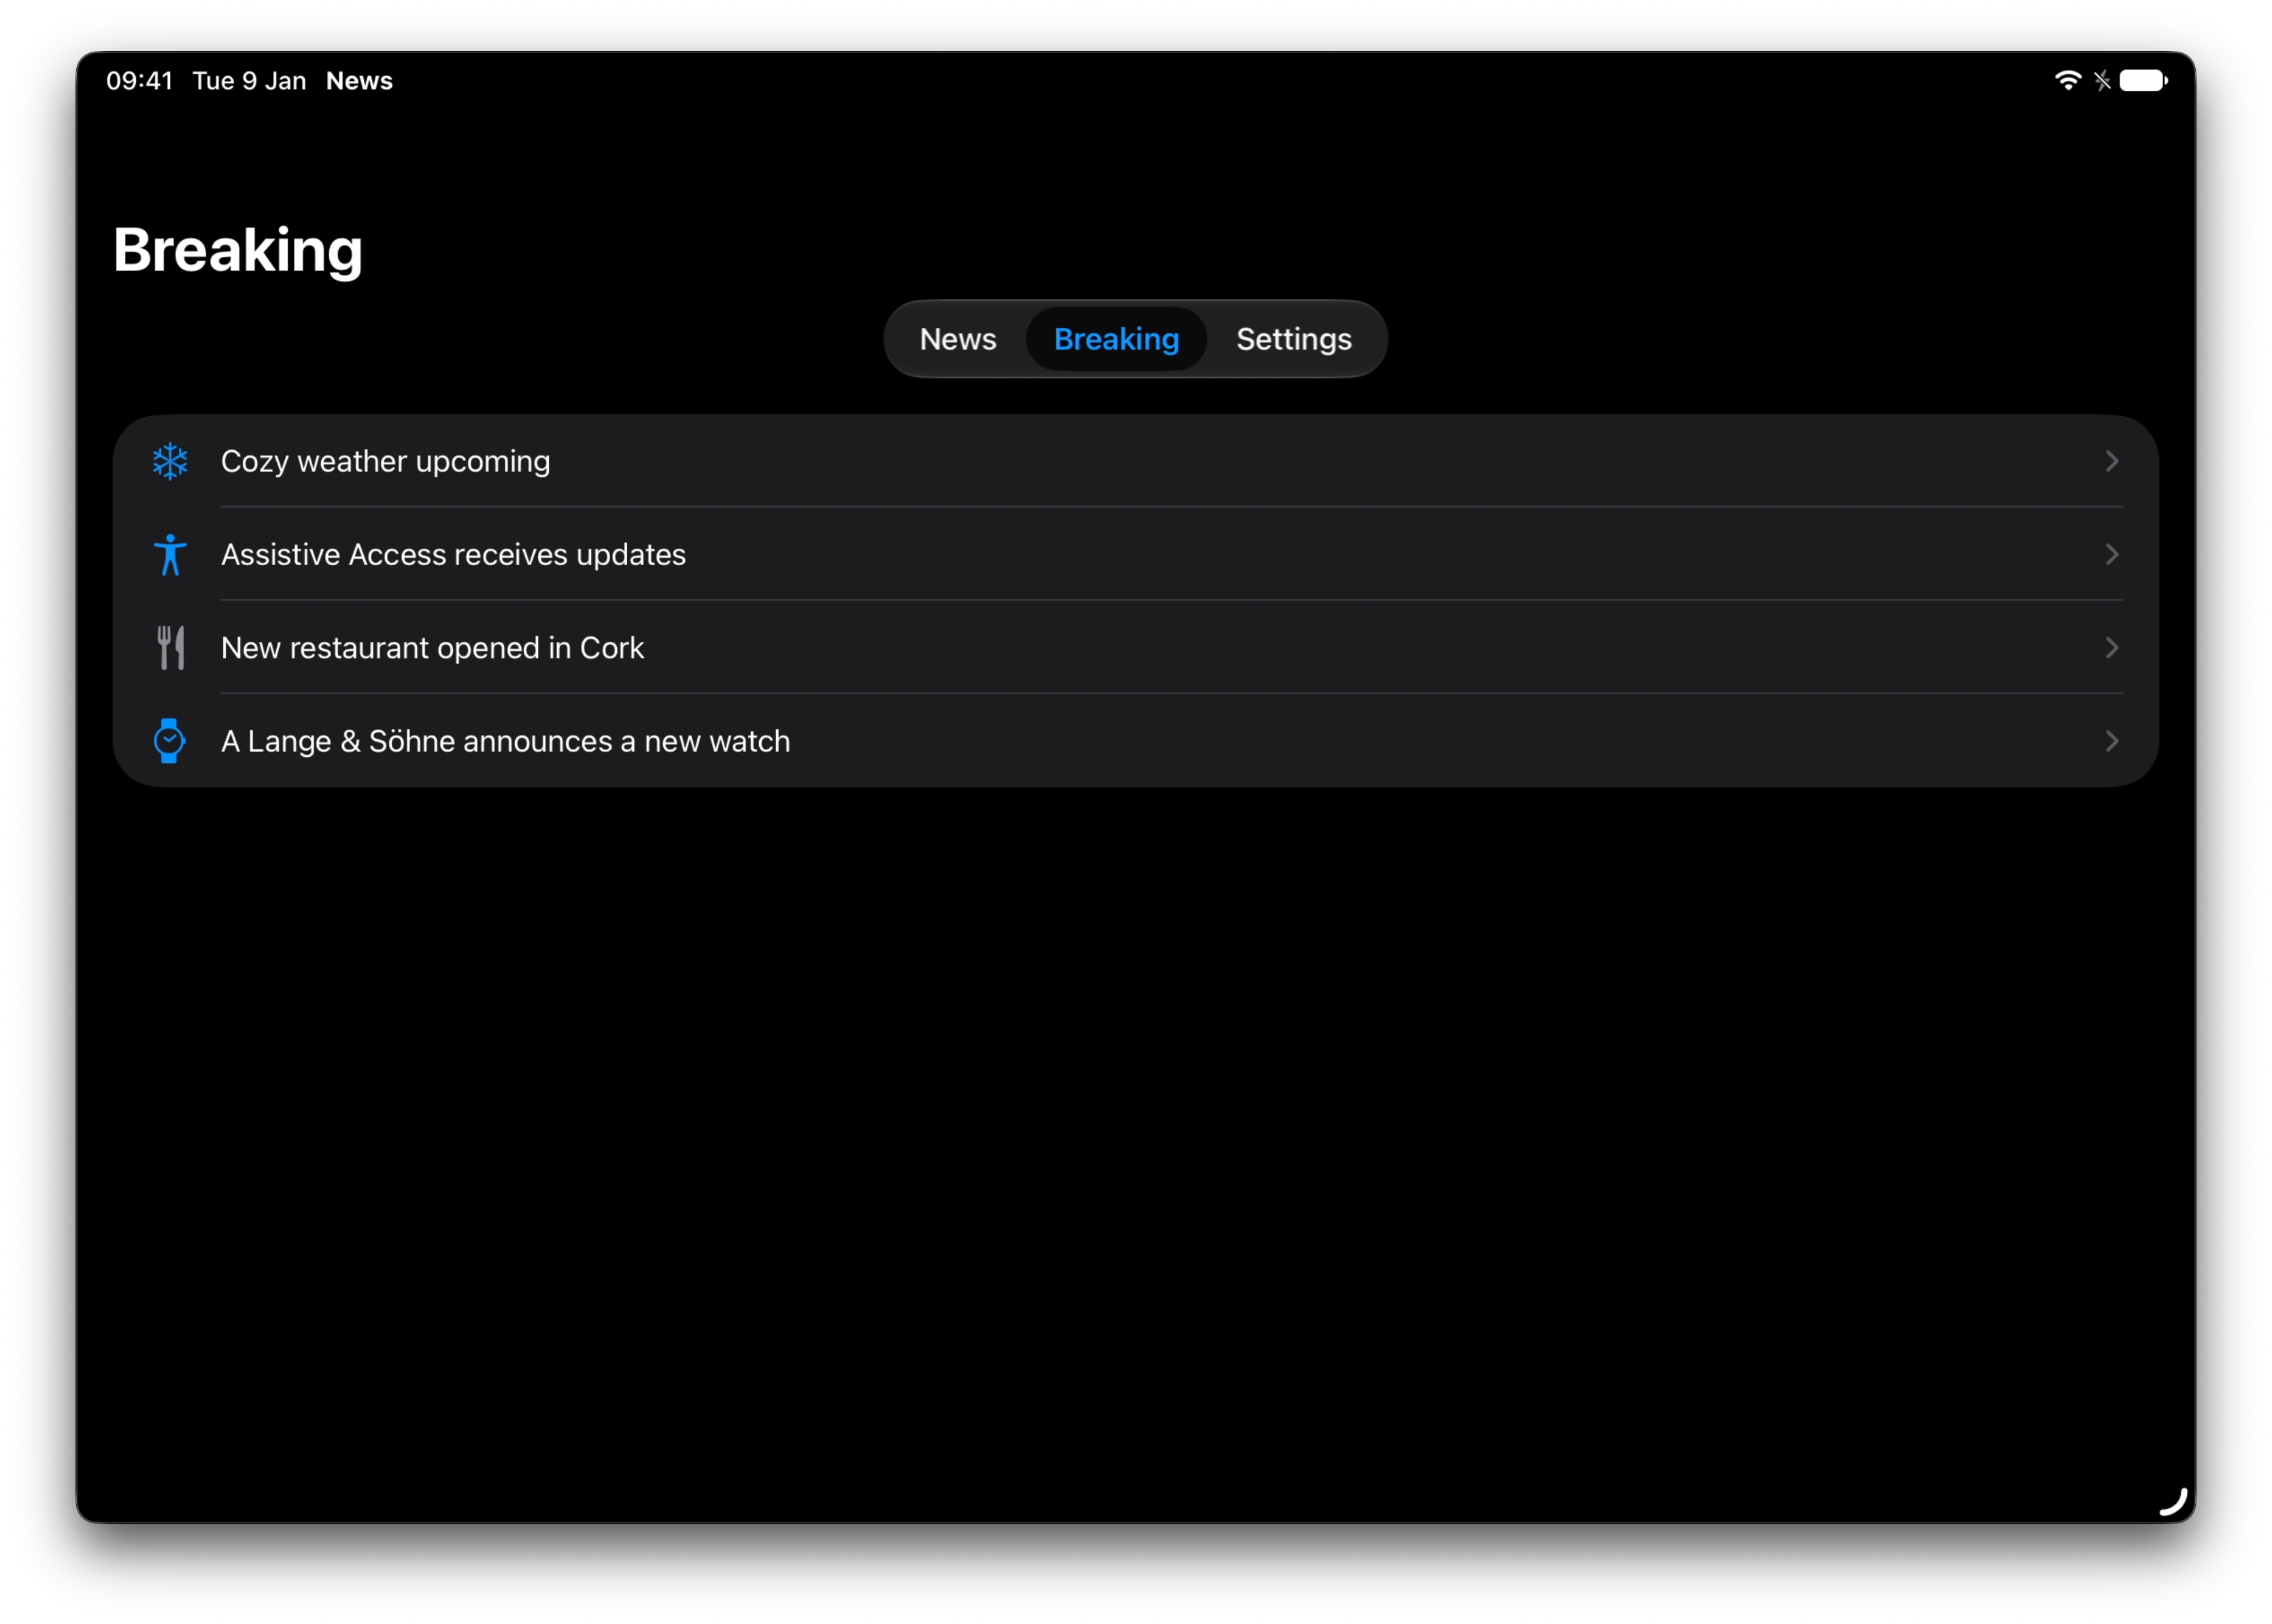 The Breaking tab, showing ‘Breaking news’, or in this example, a subset of
articles.
The Breaking tab, showing ‘Breaking news’, or in this example, a subset of
articles.
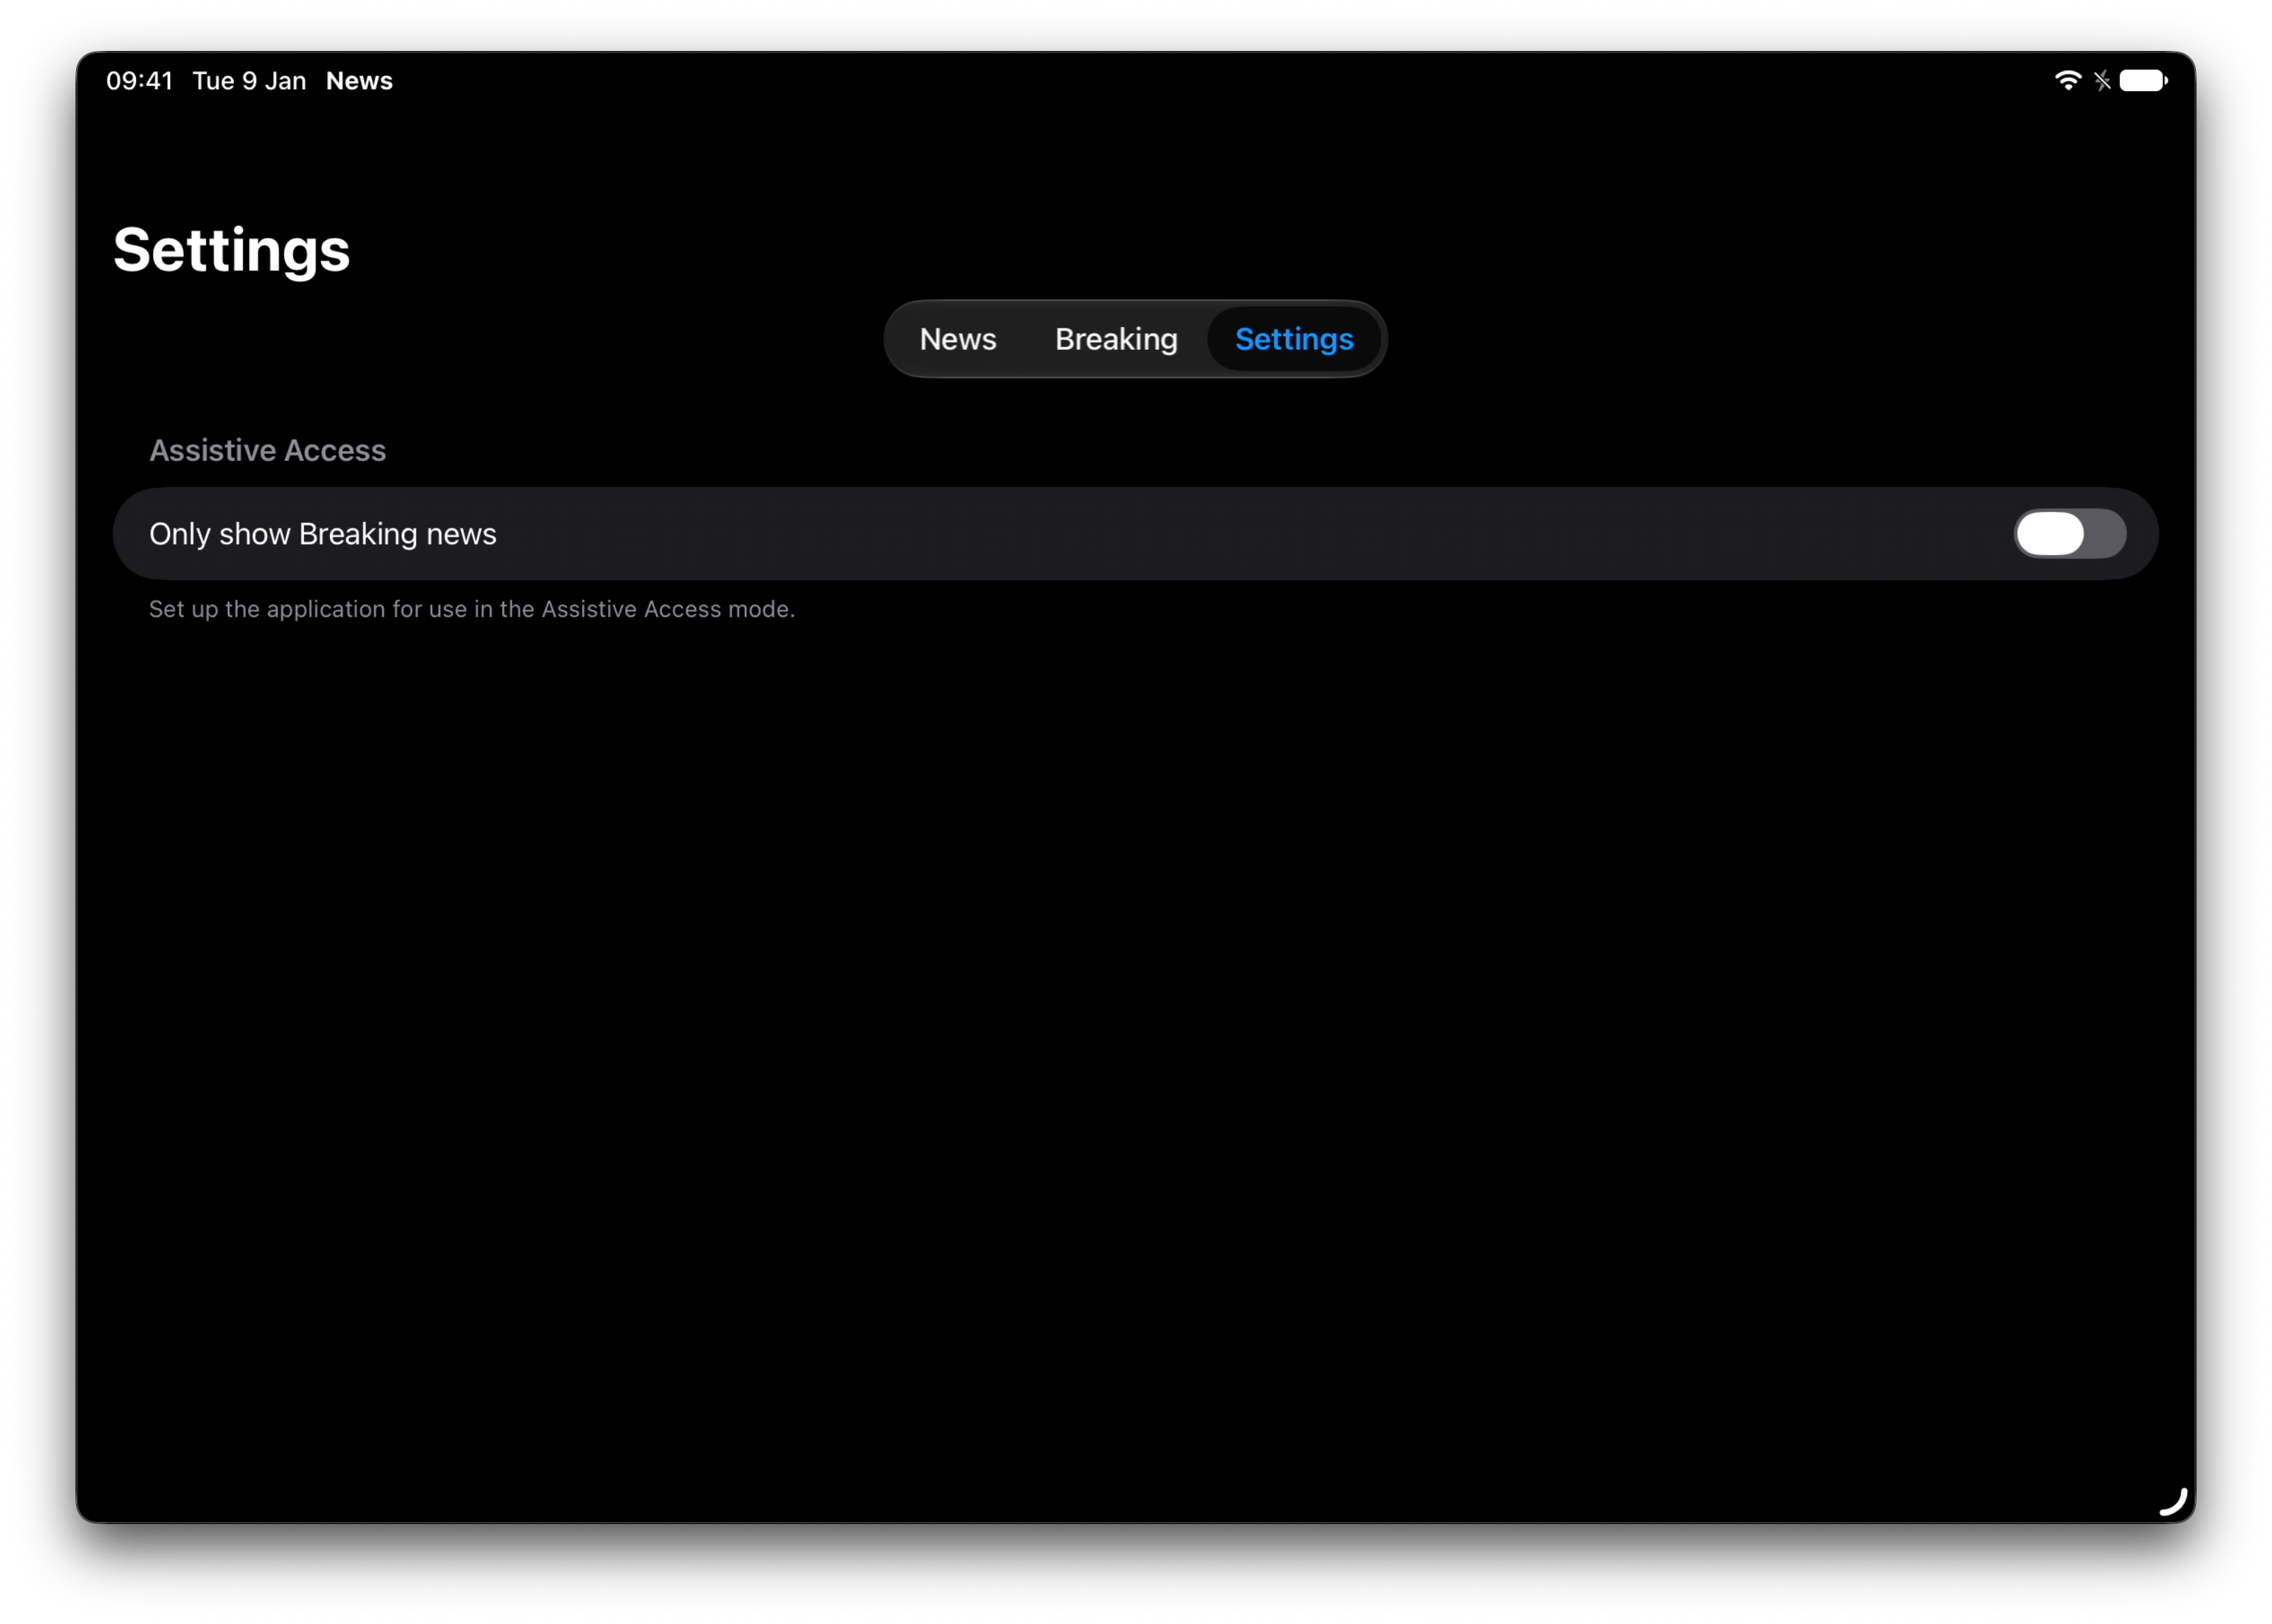 A settings page with some Assistive Access-specific settings.
In Assistive Access mode, I’ve opted to flatten this structure, showing the News view or the Breaking view only — depending on the setting in settings. This means there’s no tab bar, and a clearer structure in Assistive Access mode.
Here it is:
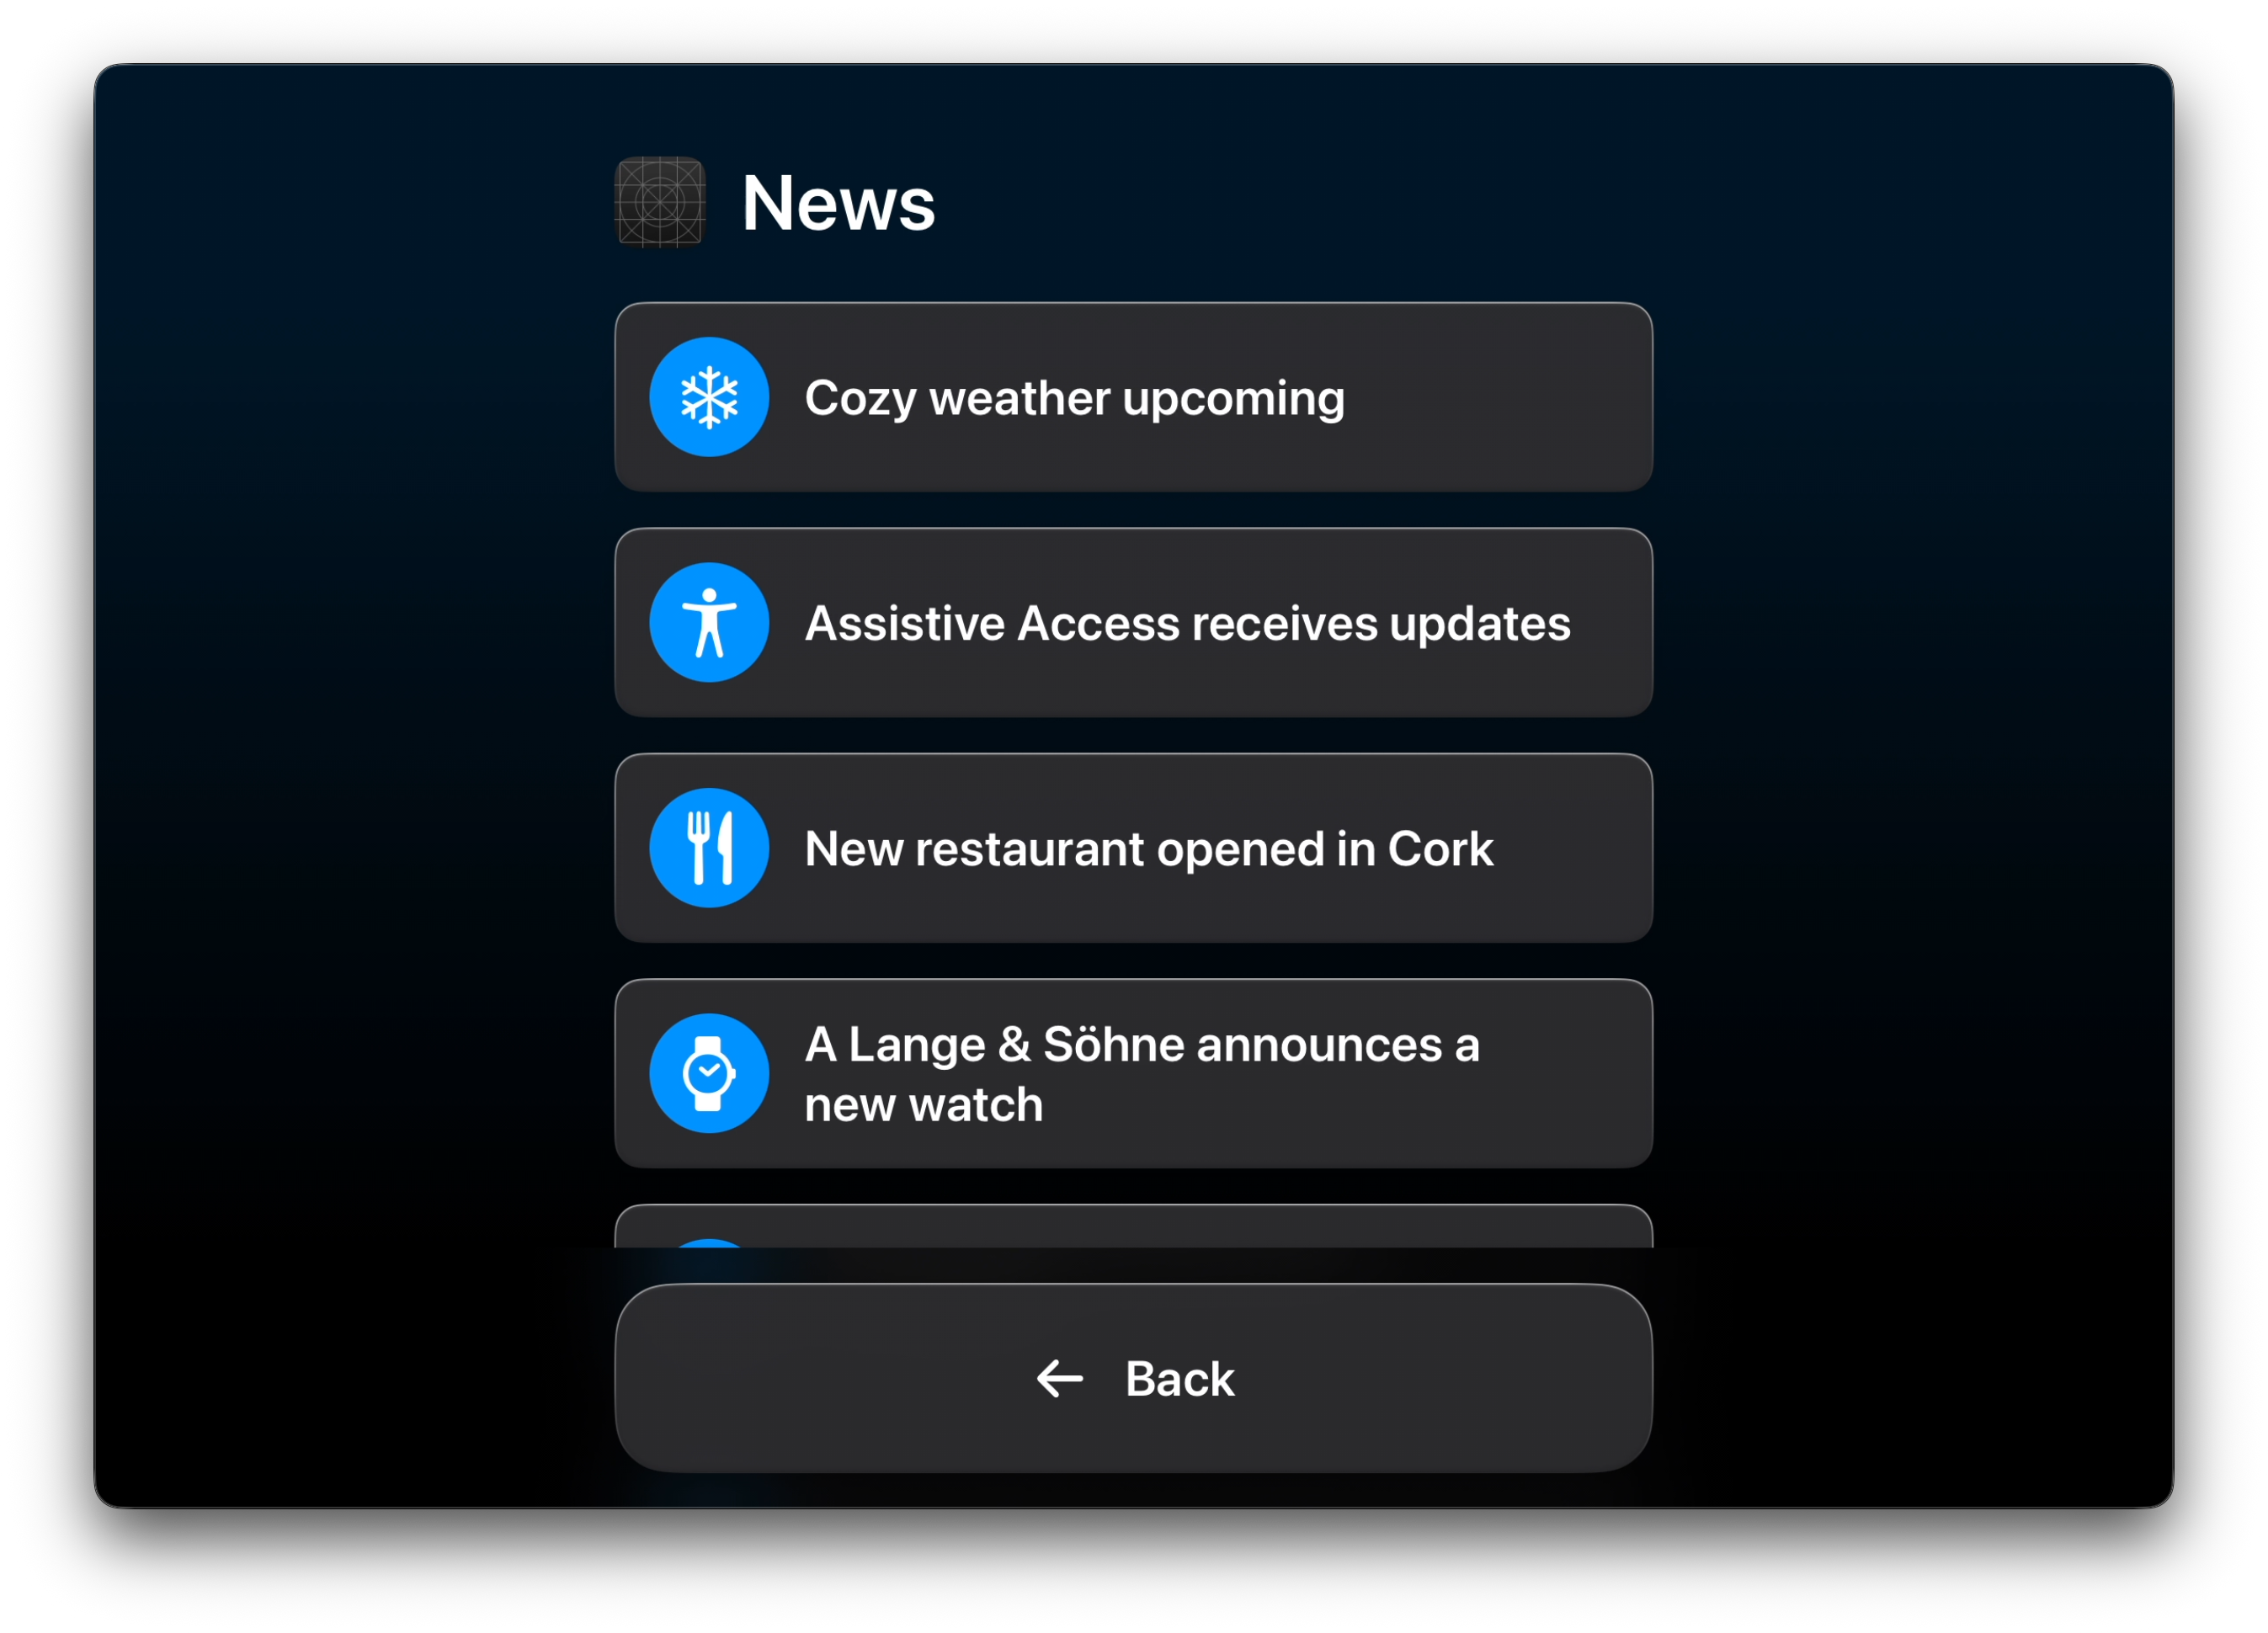 The app in Assistive Access mode, only showing what we display in the News tab.
Thoughts on Flow
At this point, you’ve got the (bare) basics. Before any next steps, I think this is a good time to think about the application’s flow in Assistive Access mode, first.
Even in our example above, in a sample app, there are things we can do to simplify the navigation.
When Assistive Access was announced, I was working at WeTransfer. WeTransfer is a service to send and receive files. I had envisioned settings to enable / disable either sending or receiving, and in the case of sending, limit this to specific receivers, perhaps only allowing images.
All of these limitations would allow for simplified flows. And that’s exactly what Assistive Access is about.
So for your own app, or perhaps an app you love, think about how you could optimize it for Assistive Access, particularly around simplyfing its flow(s), as well as the views within those (new) flow(s).
If your app has a settings screen, that might be a good place to start, too. In Assistive Access mode, it probably shouldn’t expose settings. And there might be settings that can help determine simplying flows already.
Having said that, on the topic of settings…
A Note on Settings
Apple’s first-party apps have Assistive Access-related settings within Settings.app, right there when configuring the mode:
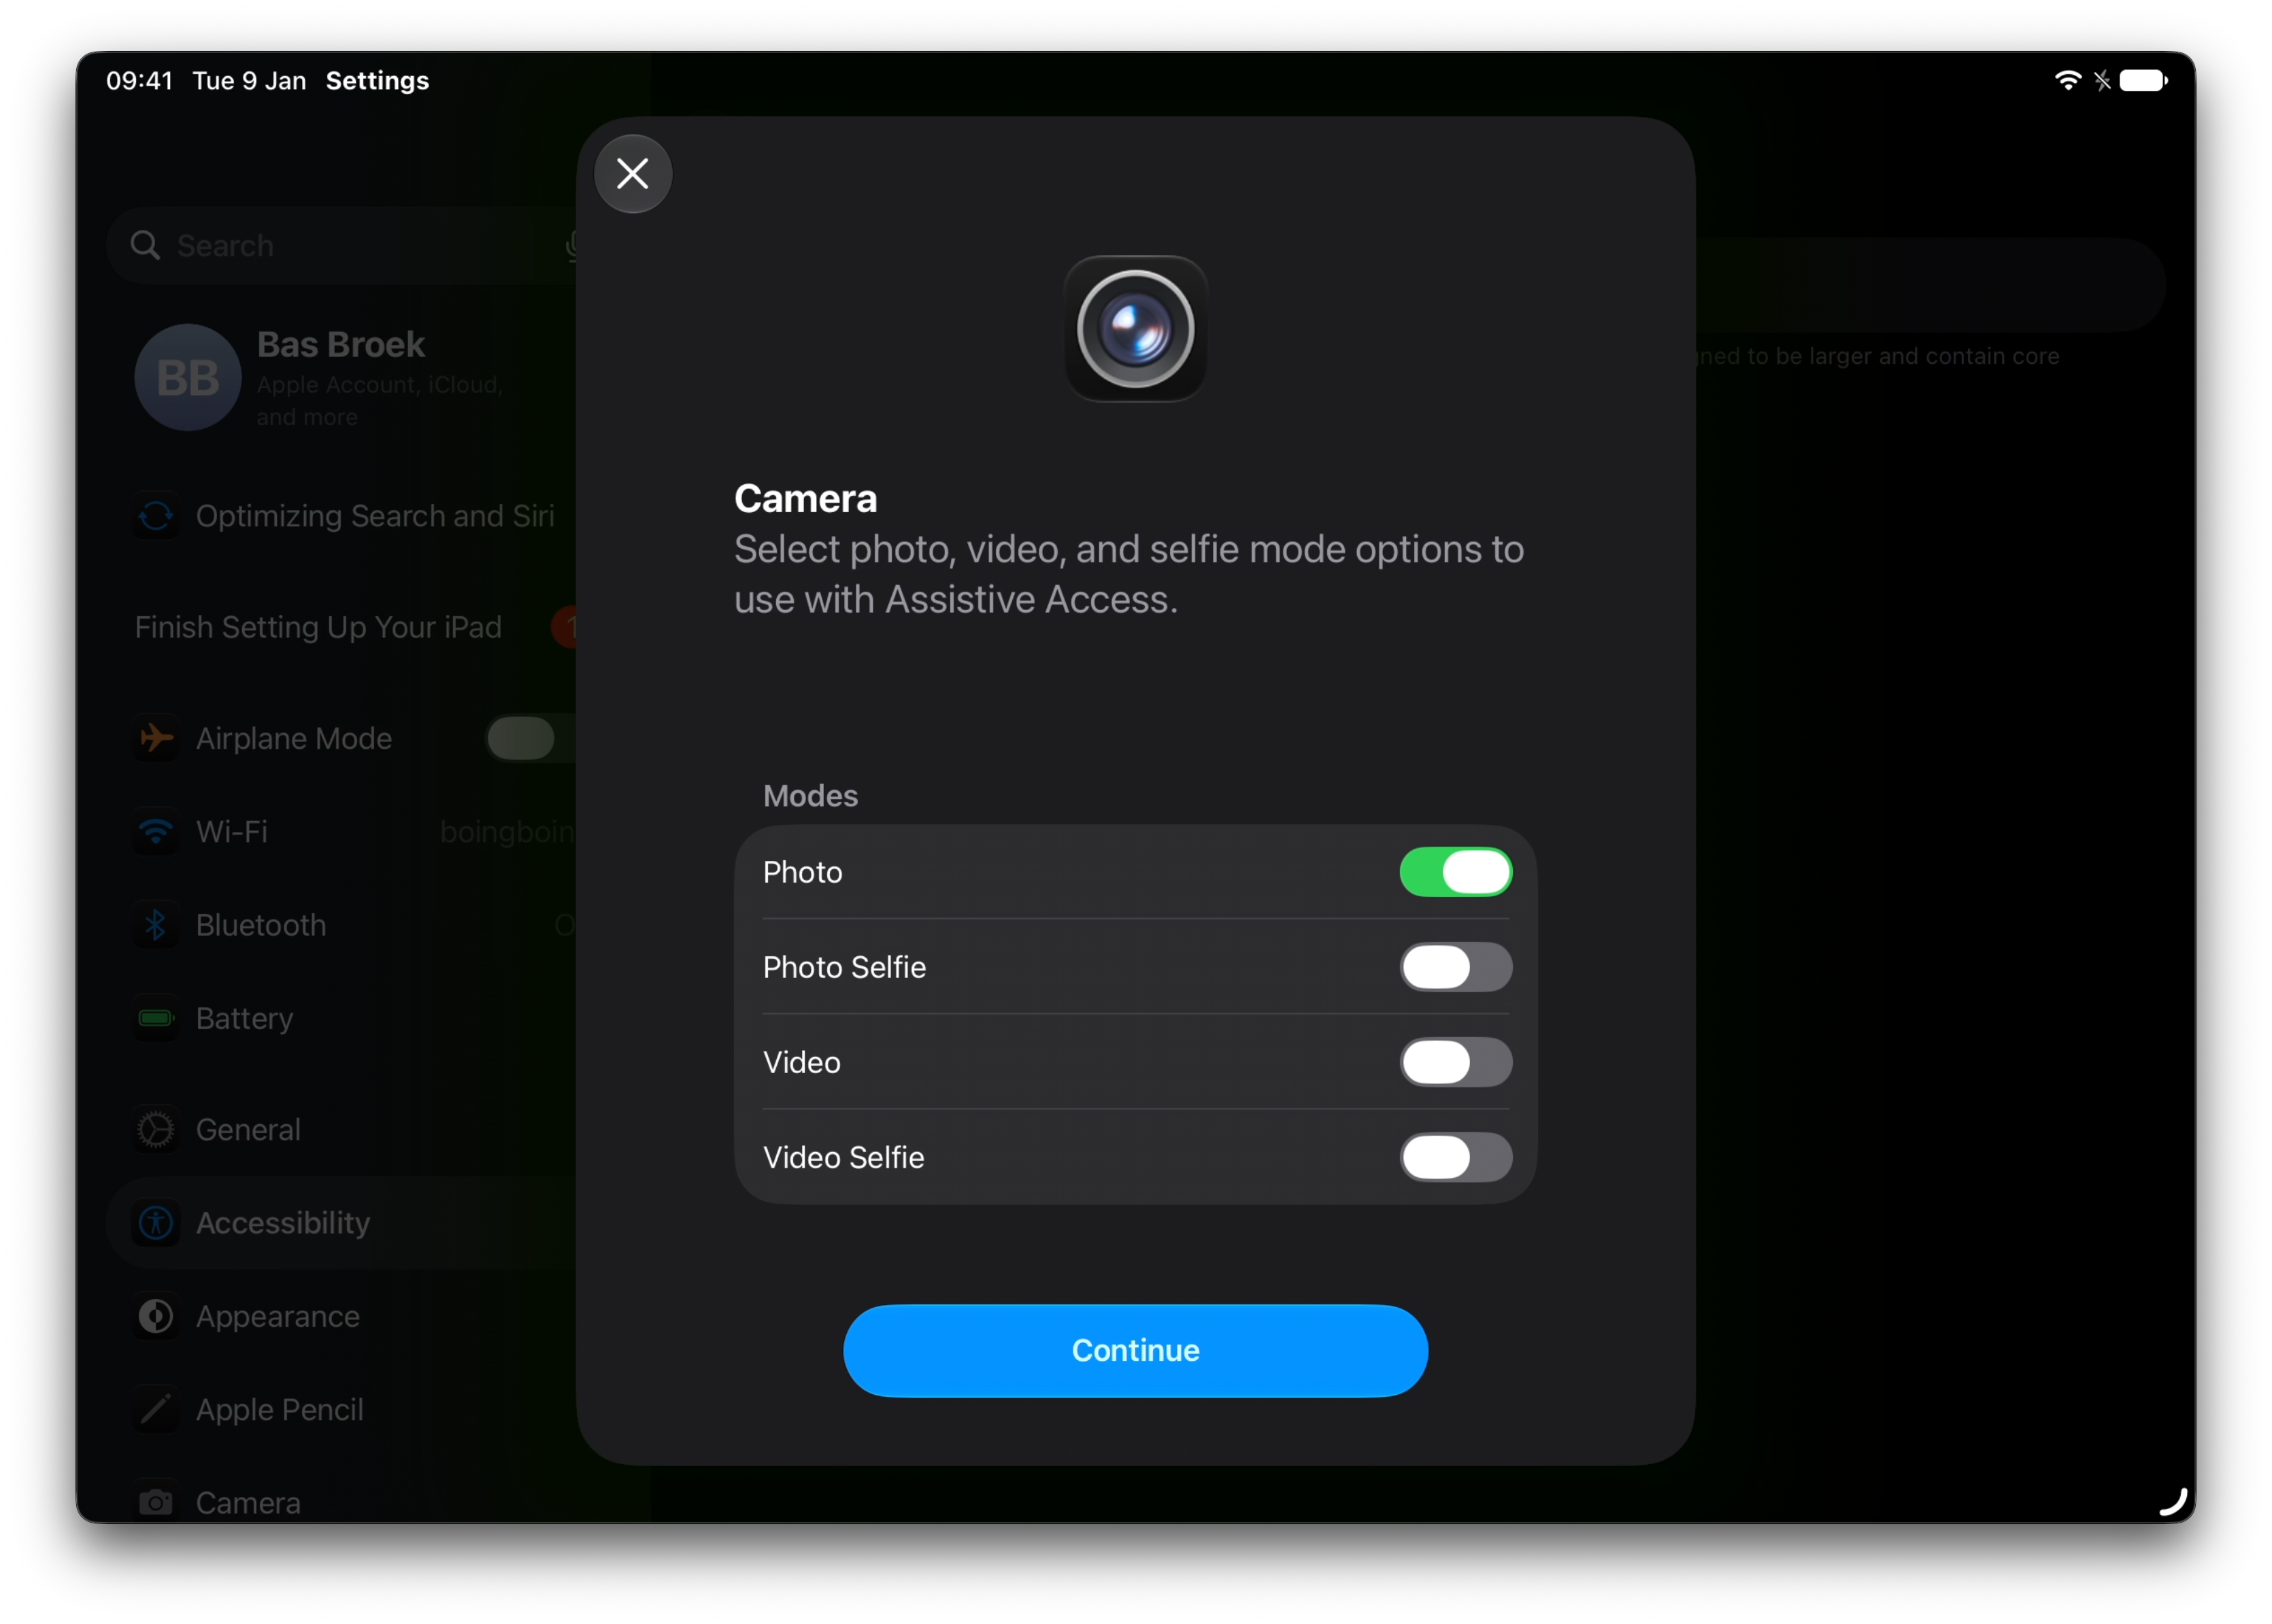
Unfortunately, third party apps do not (yet) have an API for this. Instead, these settings can live in the app itself. That is a little awkward, as the setup is a) not as smooth, and b) it is not possible to communicate to the user setting up Assistive Access that these specific settings do exist.
Ensure that any settings you do have for Assistive Access do not show up in Assistive Access mode itself.
If it makes sense to be explicit about it, you could consider showing a message in Assistive Access mode to explicitly enable settings in the host app if it hasn’t been set up.
API
Along with the UISupportsAssistiveAccess Info.plist key and the
AssistiveAccess Scene,
there are a few more APIs to help build a great Assistive Access app.
.assistiveAccessNavigationIcon()
should be called alongside any .navigationTitle() use. In Assistive Access,
the icon will be displayed in the navigation bar also, as you can see in the
article view in the sample app:

I would have loved seeing .navigationTitle() be deprecated in favor of a
replacement taking both an icon and a title, but alas. You could write a wrapper
to prevent forgetting adding the icon, although that has limited use as you
could still call the .navigationTitle() and .assistiveAccessNavigationIcon()
APIs separately.
If only we could deprecate system APIs. But I digress.
Alas, here’s how you could approach this, if that’d be of interest:
extension View {
    @warn_unqualified_access
    nonisolated public func navigationTitle<S>(
        _ title: S,
        systemImage: String
    ) -> some View where S: StringProtocol {
        self
            .navigationTitle(title)
            .assistiveAccessNavigationIcon(systemImage: systemImage)
    }
}
The system further supports an array of elements that it will optimize (read: show a larger version of):
ButtonLinkNavigationLinkText(is larger by default, but can be enlarged further in settings)
It is arguably even more vital to ensure passing both icons and text to these views, so that UI stays consistent and can be optimized for icons.
A Note on UIKit
If you’re using UIKit, hopefully you’ve still here. And I have good news; there
is API available to route your UIKit views to the AssistiveAccess scene.
First, create a UIHostingSceneDelegate:
class AssistiveAccessSceneDelegate: UIHostingSceneDelegate {
    static var rootScene: some Scene {
        AssistiveAccess {
            AssistiveAccessAppView()
        }
    }
}
Then, in your app delegate, configure the scene’s delegate class to use the one
defined above when its session role is .windowAssistiveAccessApplication:
class AppDelegate: UIApplicationDelegate {
    func application(
        _ application: UIApplication,
        configurationForConnecting connectingSceneSession: UISceneSession,
        options: UIScene.ConnectionOptions
    ) -> UISceneConfiguration {
        let role = connectingSceneSession.role
        let configuration = UISceneConfiguration(
            name: nil,
            sessionRole: role
        )
        if role == .windowAssistiveAccessApplication {
            configuration.delegateClass = AssistiveAccessSceneDelegate.self
        }
        return configuration
    }
}
One More Thing
Oh, and apart from directly building your app from Xcode whilst in Assistive Access mode, you can also use SwiftUI previews for Assistive Access!
To do so, pass in the .assistiveAccess preview trait:
#Preview(traits: .assistiveAccess) {

}
Takeaways
So, here are some thoughts to take away for your app:
- Map out settings that separate or limit app flows;
- Re-think app flows that fit the Assistive Access model;
- (Re)build your app using the
AssistiveAccessscene; - Iterate and learn;
- Test with users!
Conclusion
Assistive Access is a neat addition to accessibility, if you ask me. Now that we can optimize our own apps, it given us an opportunity to rethink what our app looks like in this mode; which I find an interesting, fun challenge.
Based on the people I’ve talked to on Assistive Access, it’s not unlikely you might have someone in mind that could beenefit from this mode, and perhaps including the app you’re working on!
I look forward to seeing apps adopt Assistive Access and bring this new mode to life.
Thanks to Bruno Scheele for some (rubber duck) debugging.