Exploring Assistive Access
I’ve been meaning to explore Assistive Access, a new accessibility feature announced a few days ahead of this year’s Global Accessibility Awareness Day. It has taken a bit of time, as it didn’t seem to be available in the simulator when the first beta came around, and then life happened… but I was finally able to set it up on my iPad and try it out, and I wanted to share my experience and findings here.
Not in the loop on Assistive Access? Beyond Apple’s announcement earlier this year, there’s an awesome WWDC session on Assistive Technology by none other than Allen Whearry.
⚠️ Note that Assistive Access is currently still beta software, and may have bugs that I therefore won’t judge too harshly. ⚠️
Setup
It’s interesting that the initial setup of Assistive Access is a little different than the setup for subsequent changes; the initial setup is, however, nicely guiding you and introducing certain concepts and gotchas, which is nice.
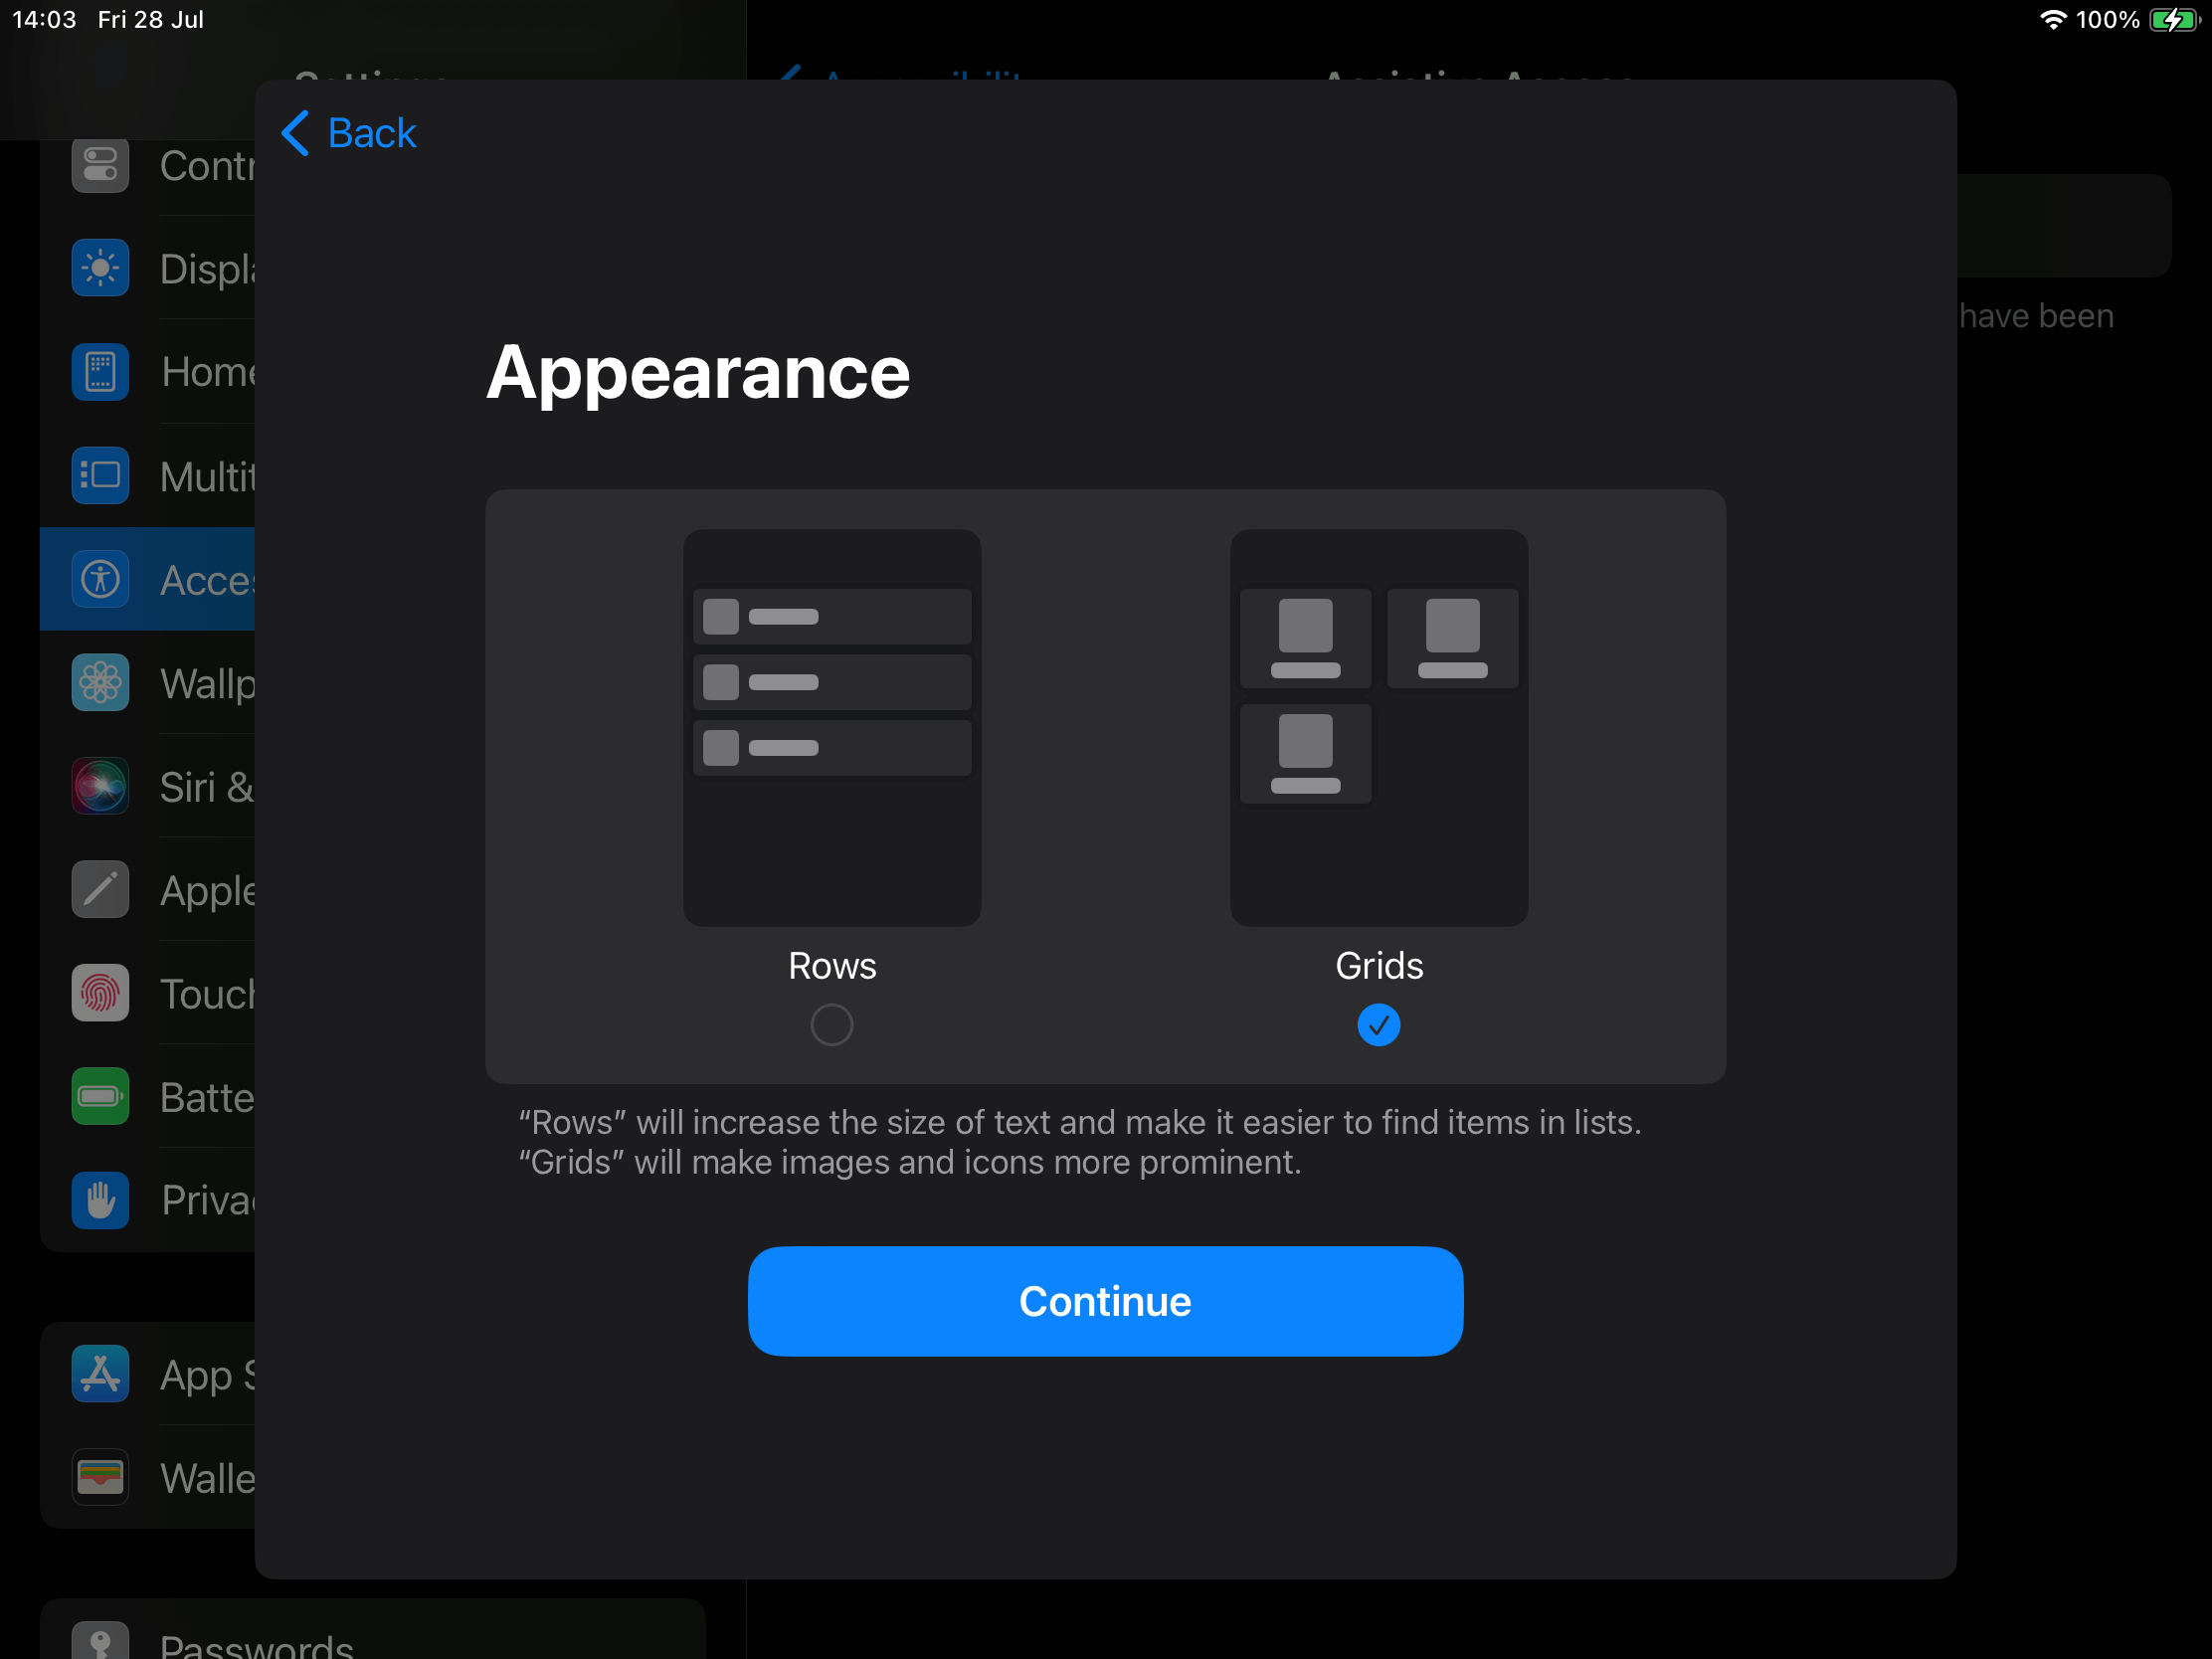
For example, you can set up the “appearance” in Assistive Access to be row-based or grid-based.
After this, we can start setting up apps.
First Party Apps
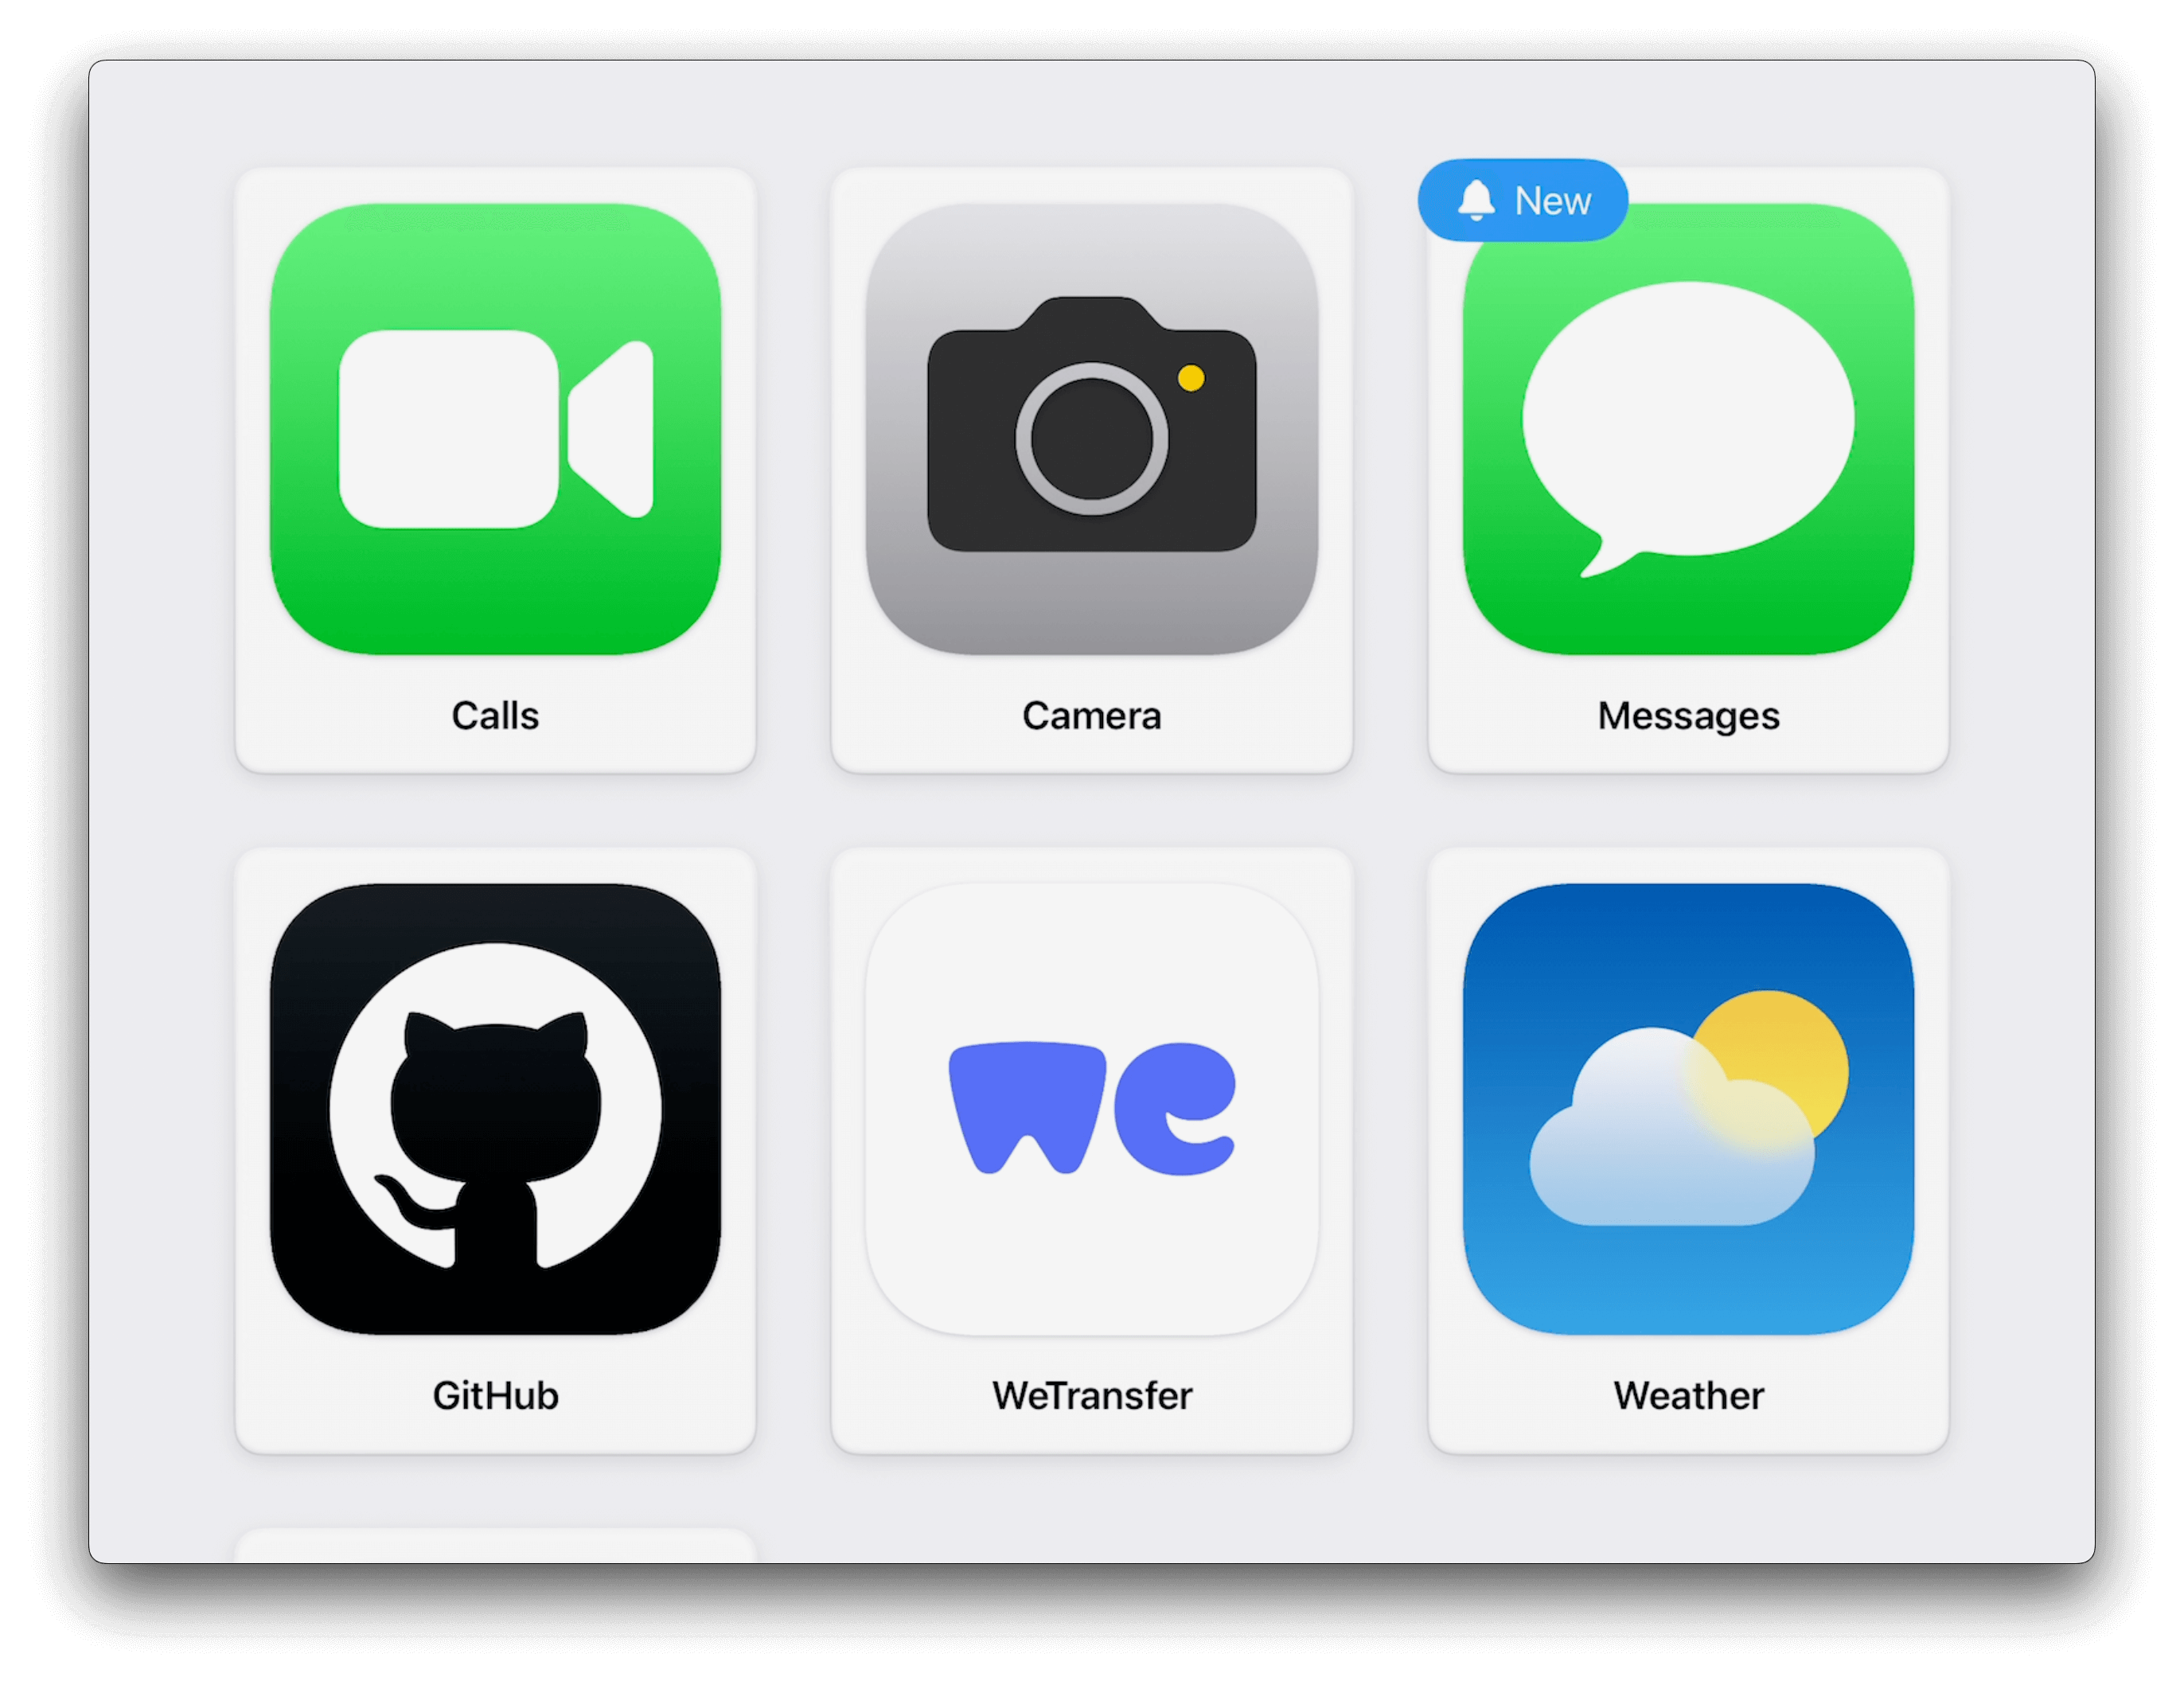
There are a few first-party apps that have been optimized for Assistive Access, by means of having fewer features and a bigger, bolder user interface. Unfortunately, this is not available for any third party apps… yet.

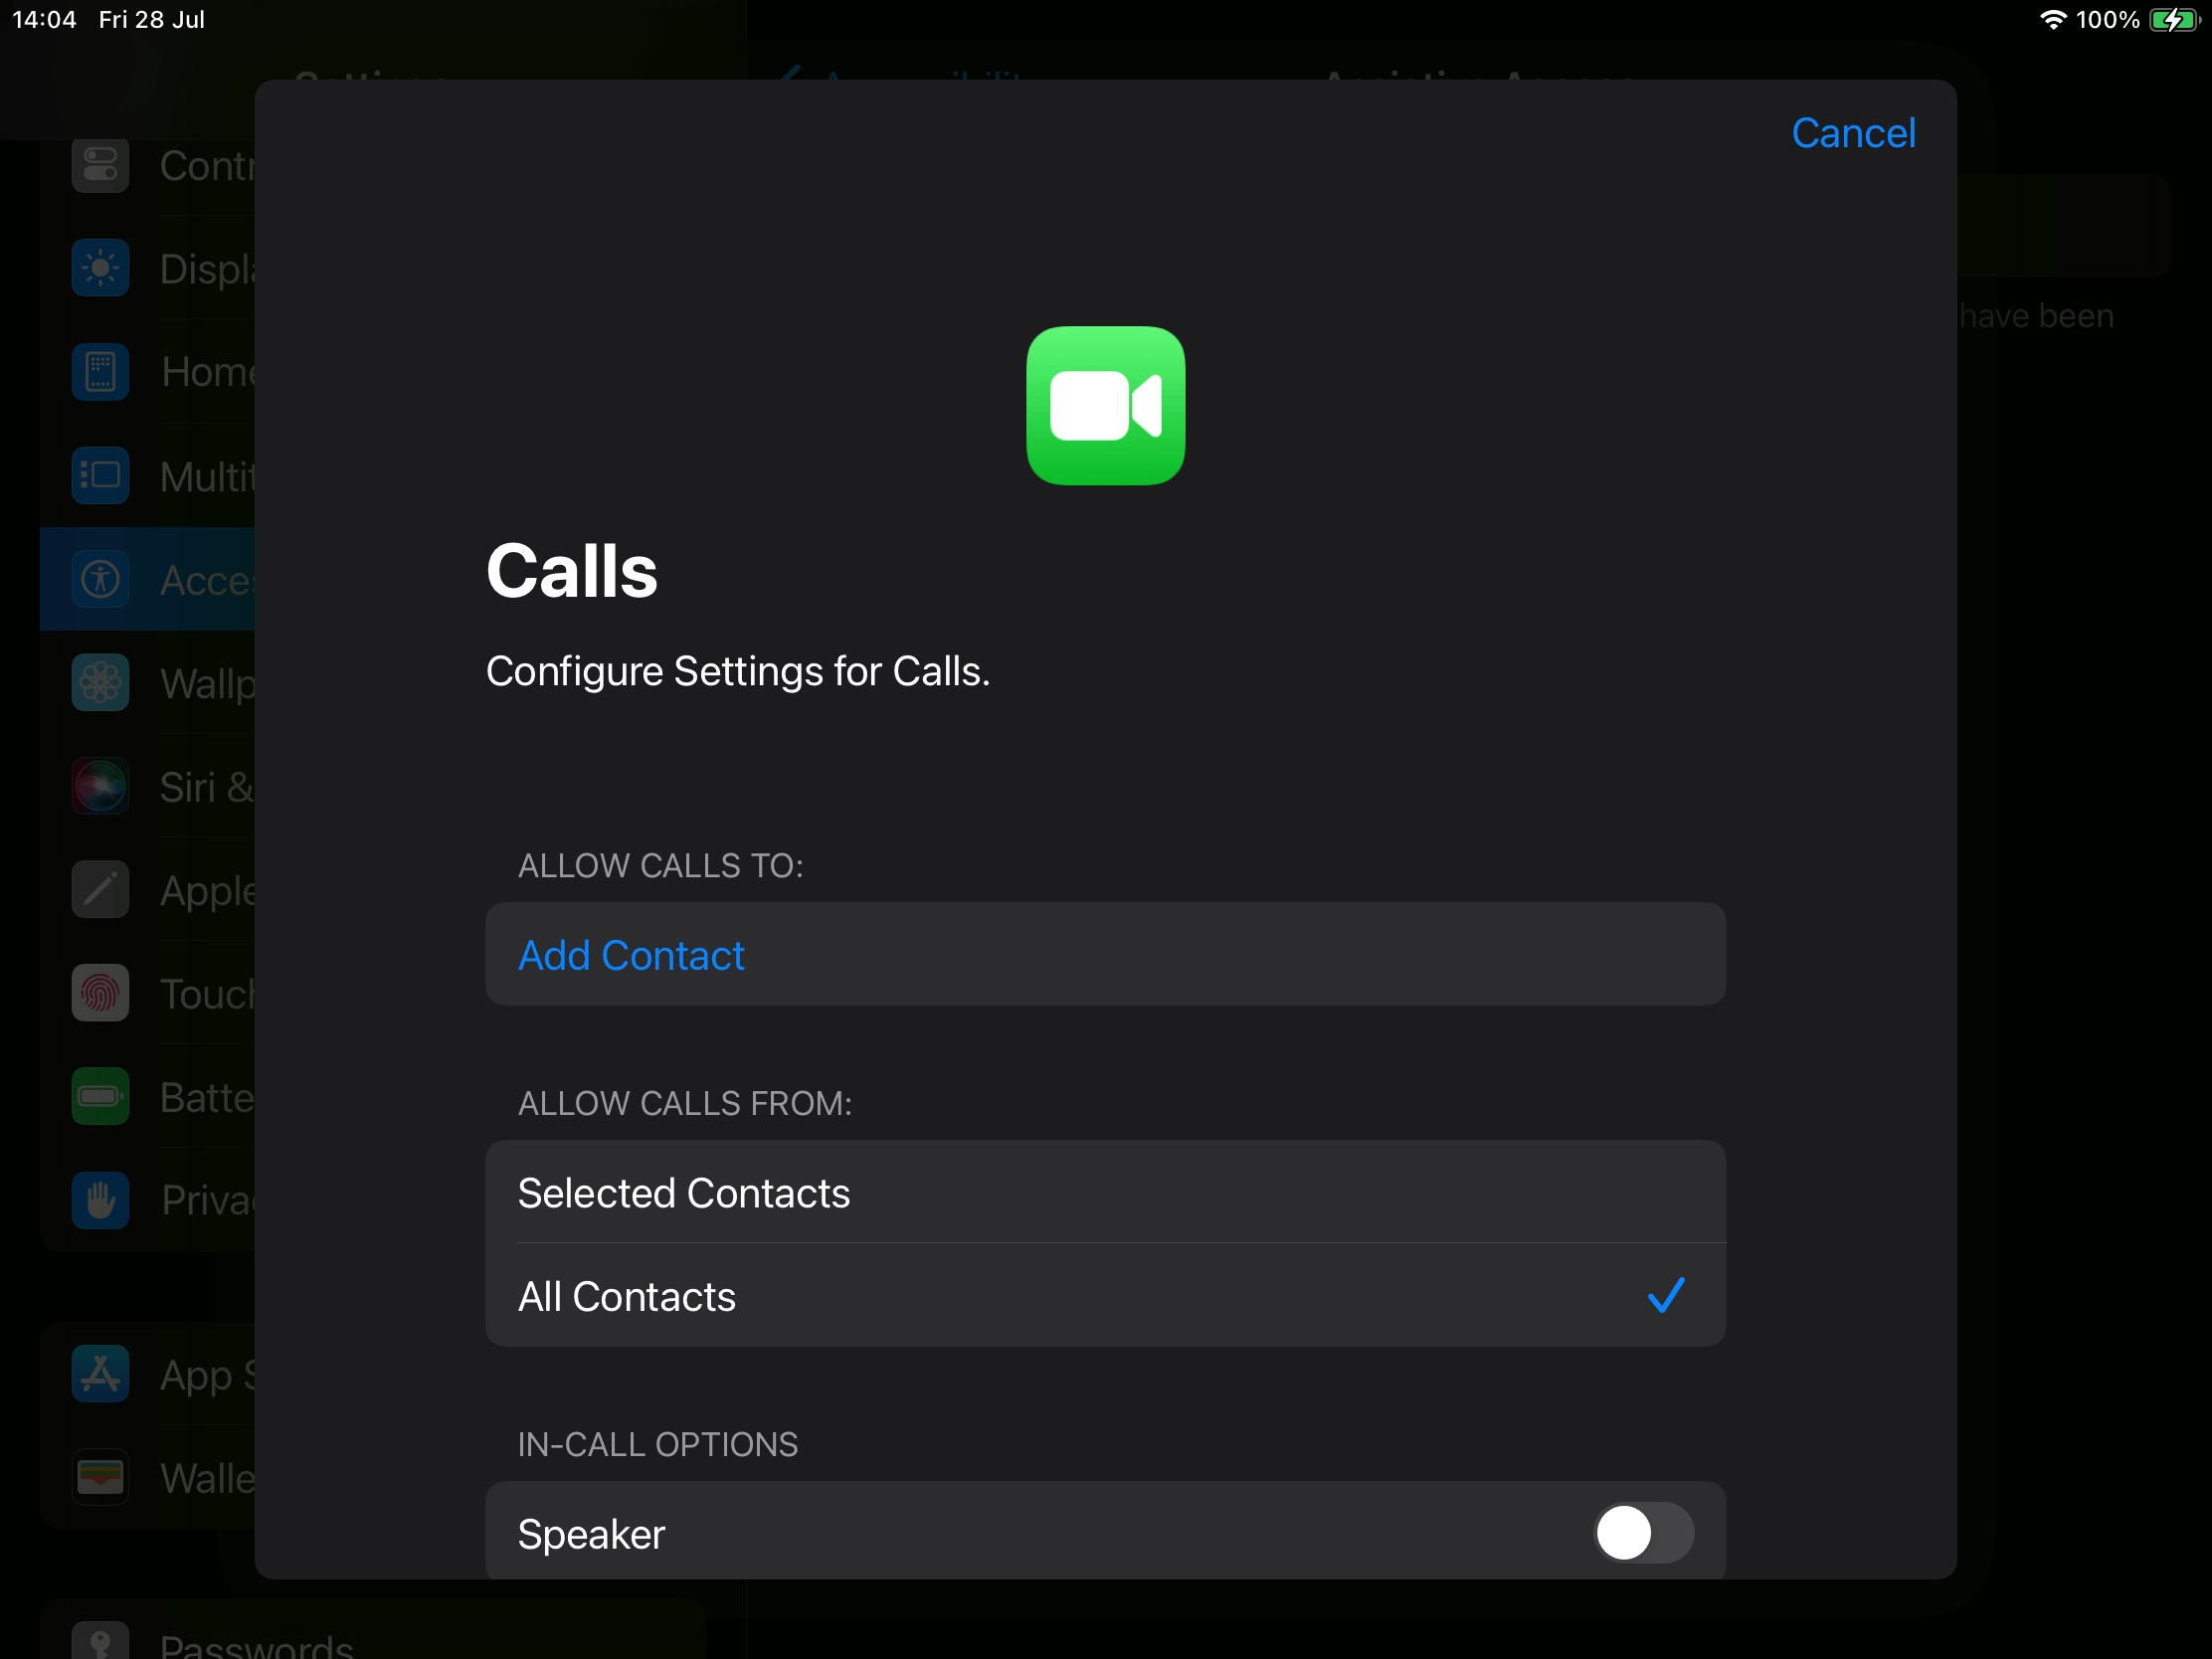
We can see that Calls has setup options to enable or disable certain functionalities. Note also that this “Calls” app actually combines features from both the “Phone” and “FaceTime” apps in one app — neat!
3rd Party Apps
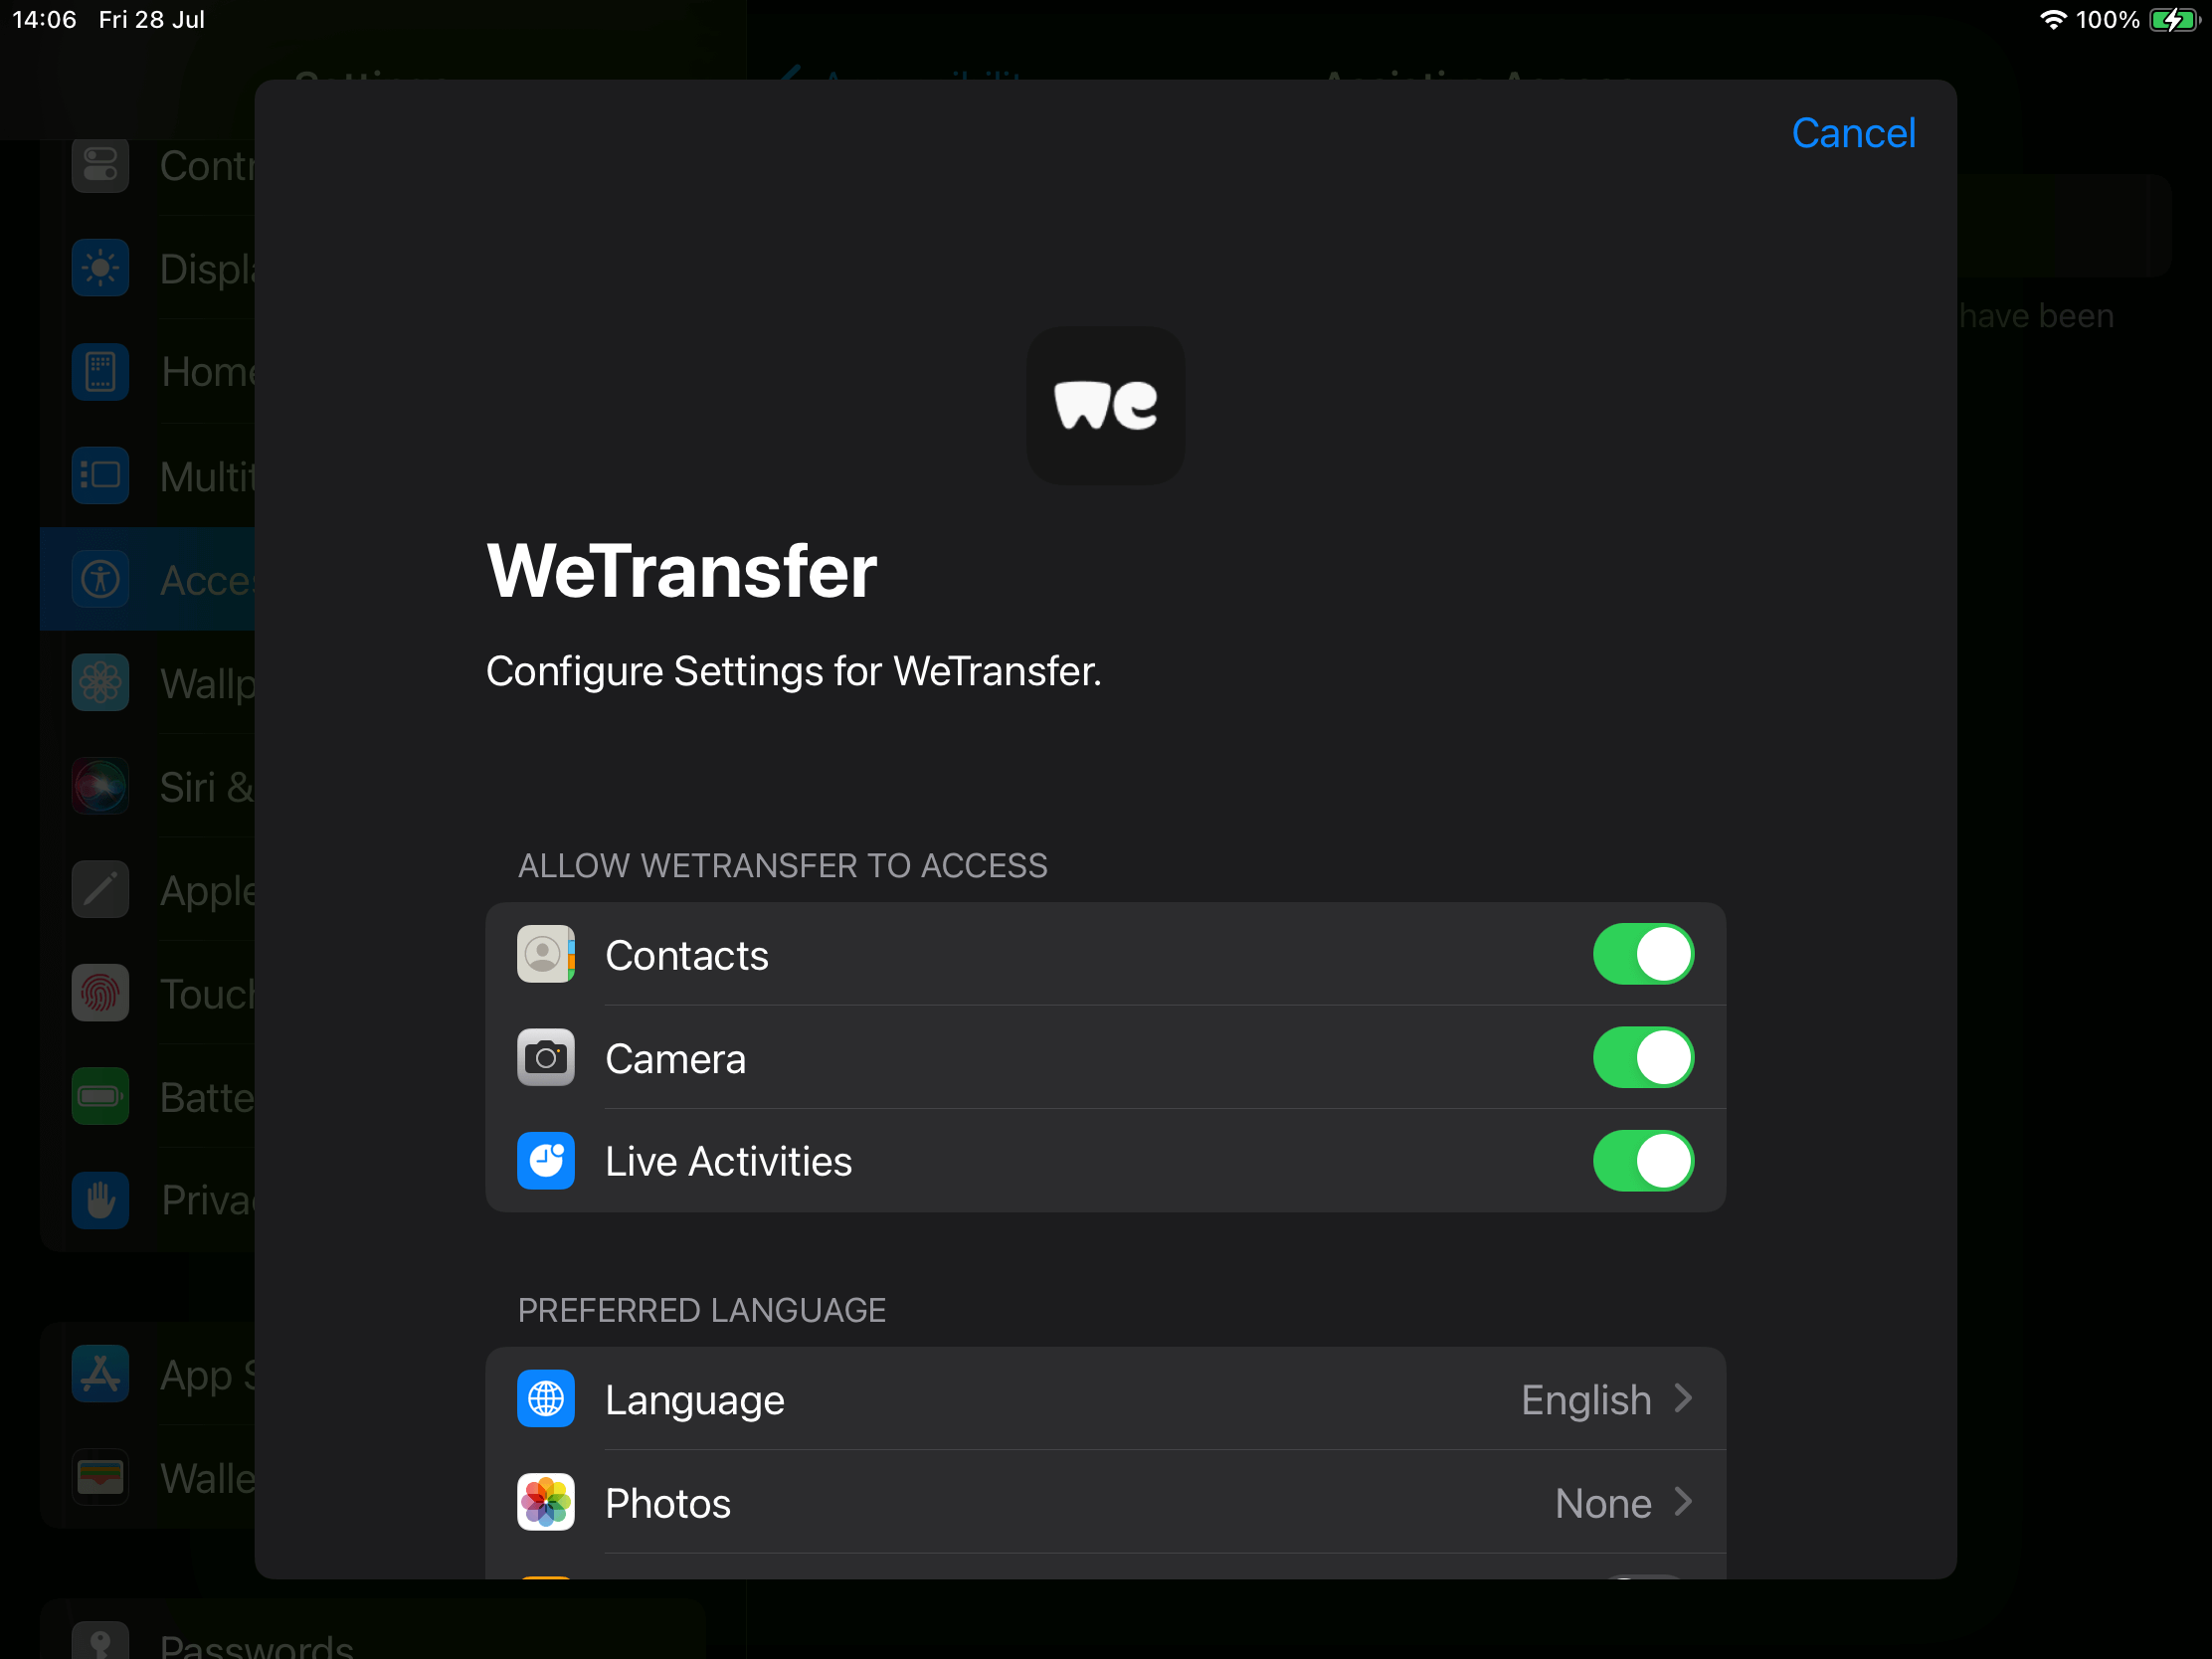
For third party apps, I was delighted to see that, whereas they are not optimized, we can still set them up specifically for Assistive Access. For example by settings its language, and allowing access to things like Camera, Contacts, Live Activities, etc. — depending on what the app supports, of course.
Wrapping up the Setup
After setting up the apps, there’s some more screens in the initial setup, sharing some “things to know” about things that are unavailable in Assistive Access mode, like notifications, software updates and more. There’s also an explanation on how you exit Assistive Access (triple-clicking the home button; I assume this is triple-clicking the side button for devices without a home button).
… and with that, we’ve set up Assistive Access — now let’s explore it!
Assistive Access Experience
Enabling Assistive Access can be done through the Accessibility settings, or the Accessibility Shortcut after adding it there. It does not seem to work via Siri (just yet).
General
Requiring an “admin” password to enter and exit Assistive Access means users can’t accidentally exit the mode. Using the grid appearance, all we see is our apps in large tiles; no time, battery level, connectivity etc. It also seems like non-default app icons are not shown if set up.
First Party (Optimized) Apps
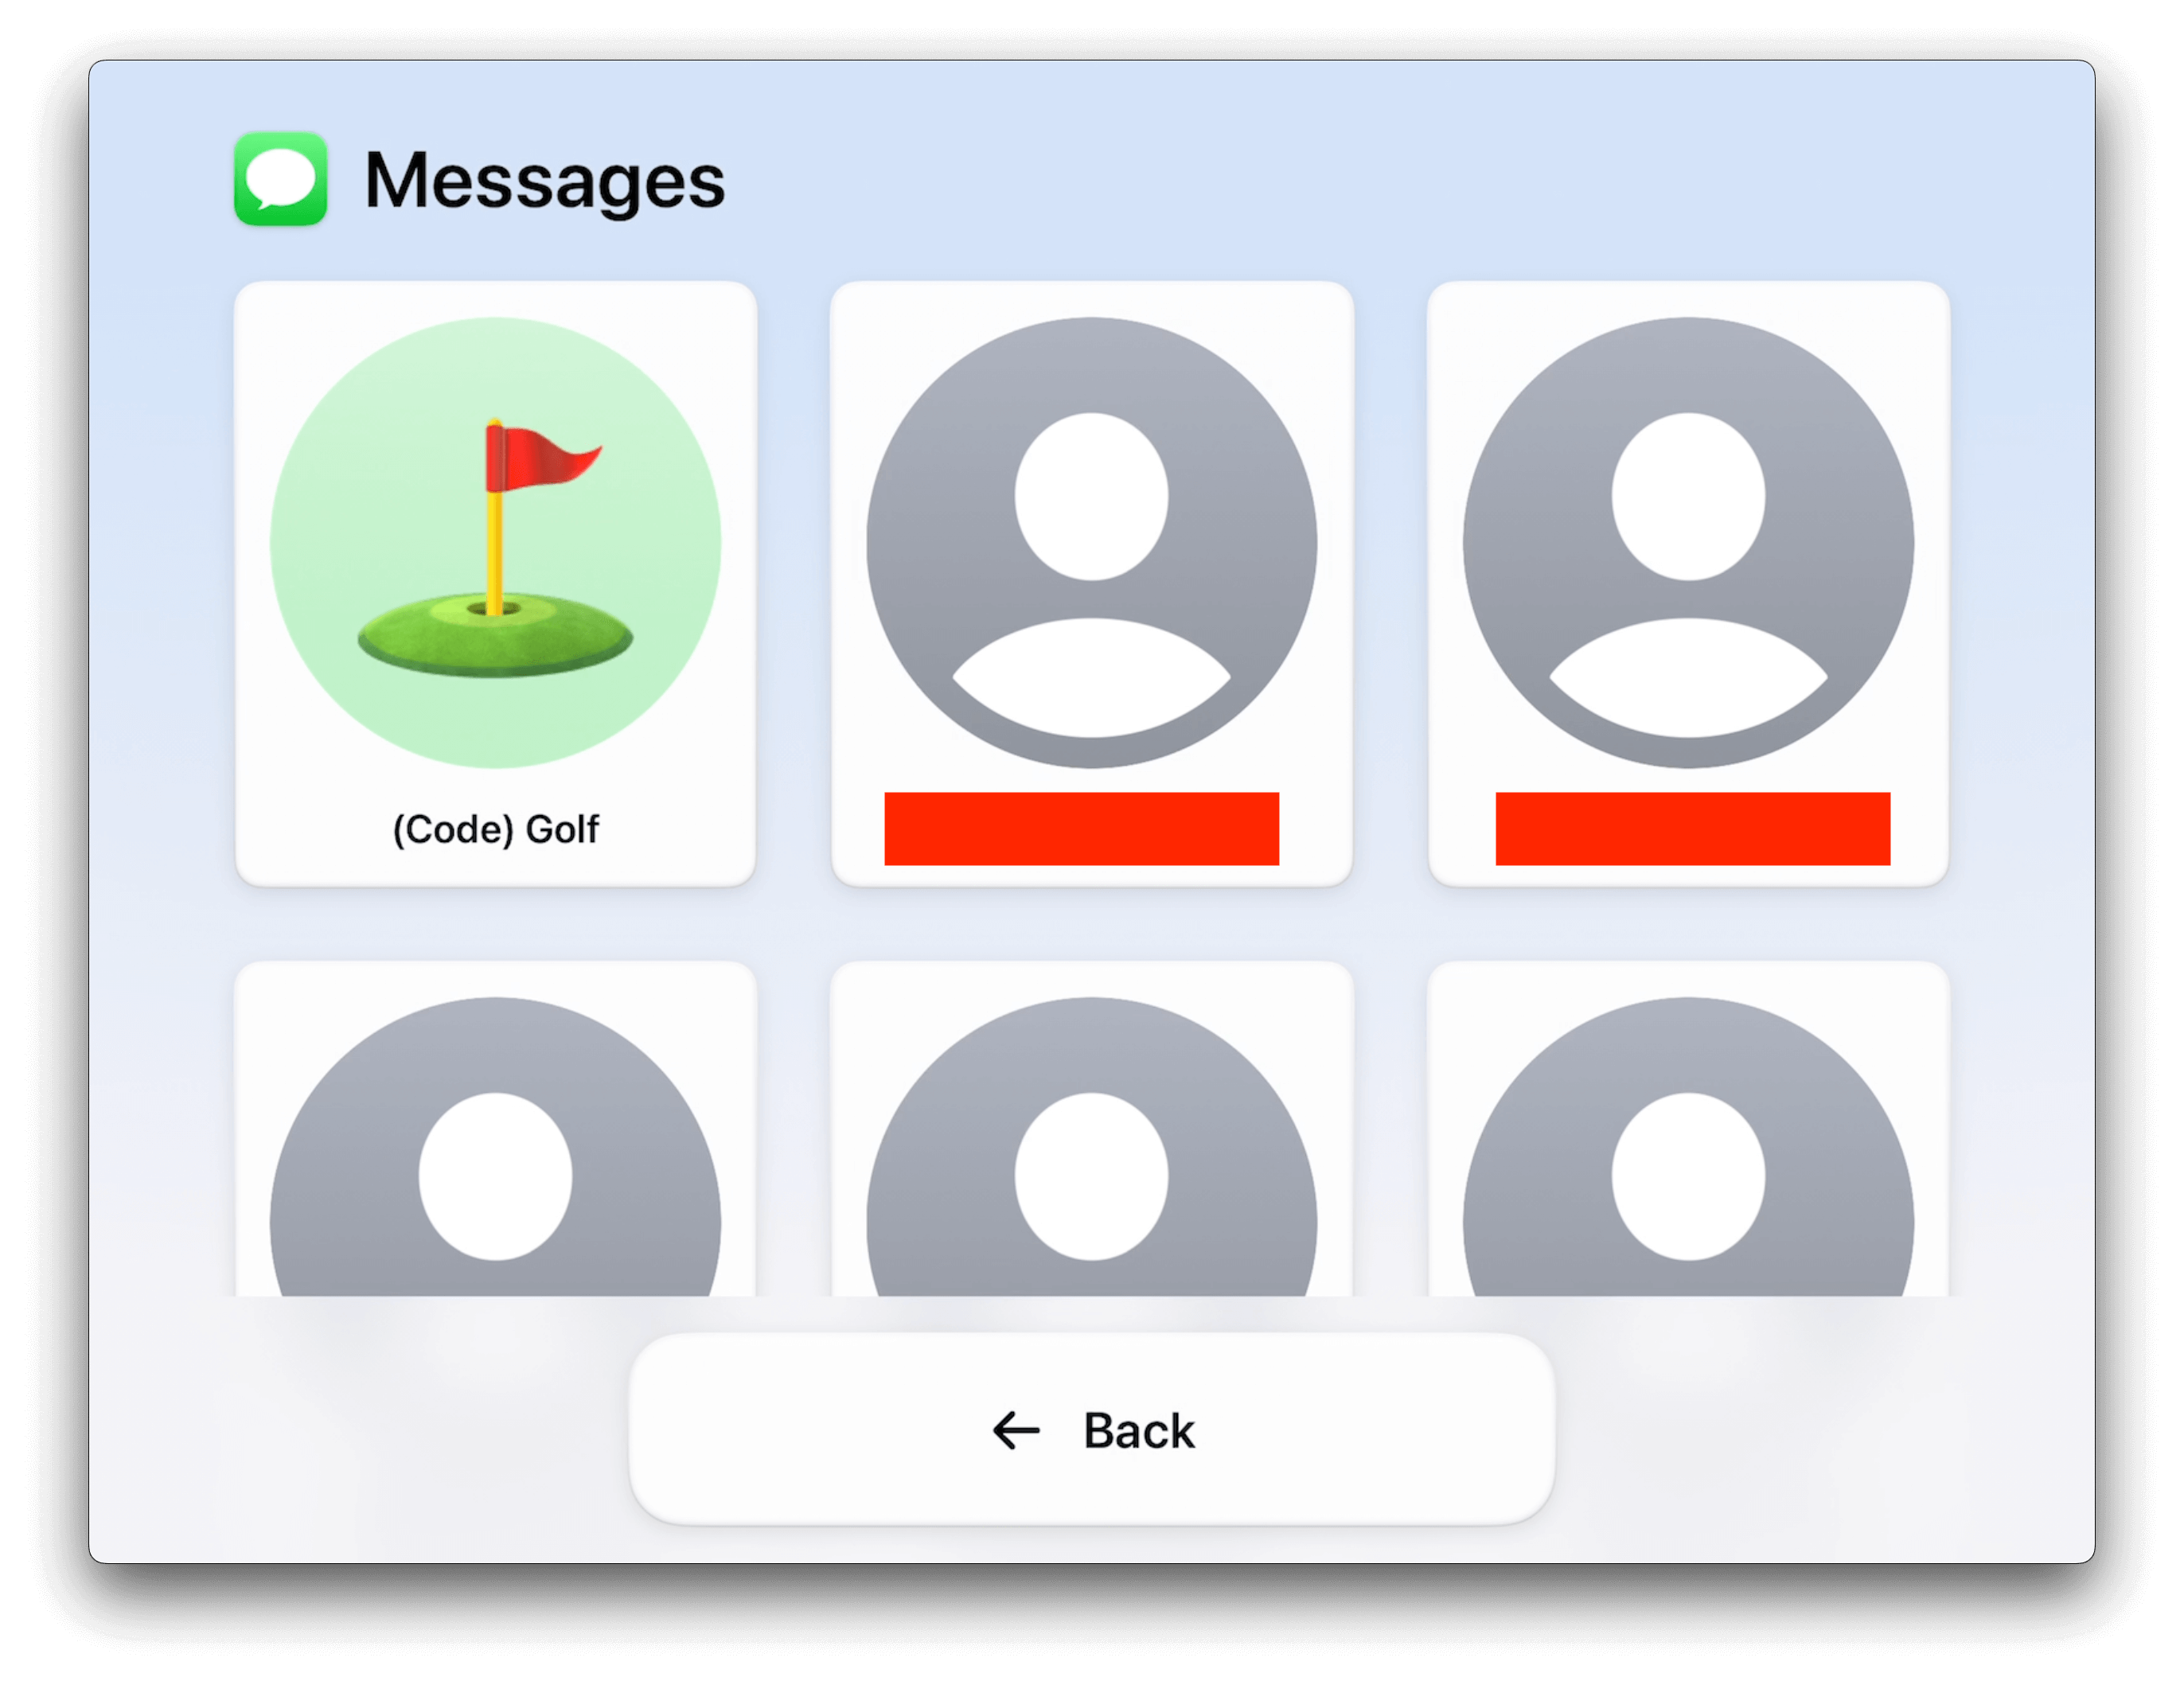
Messages
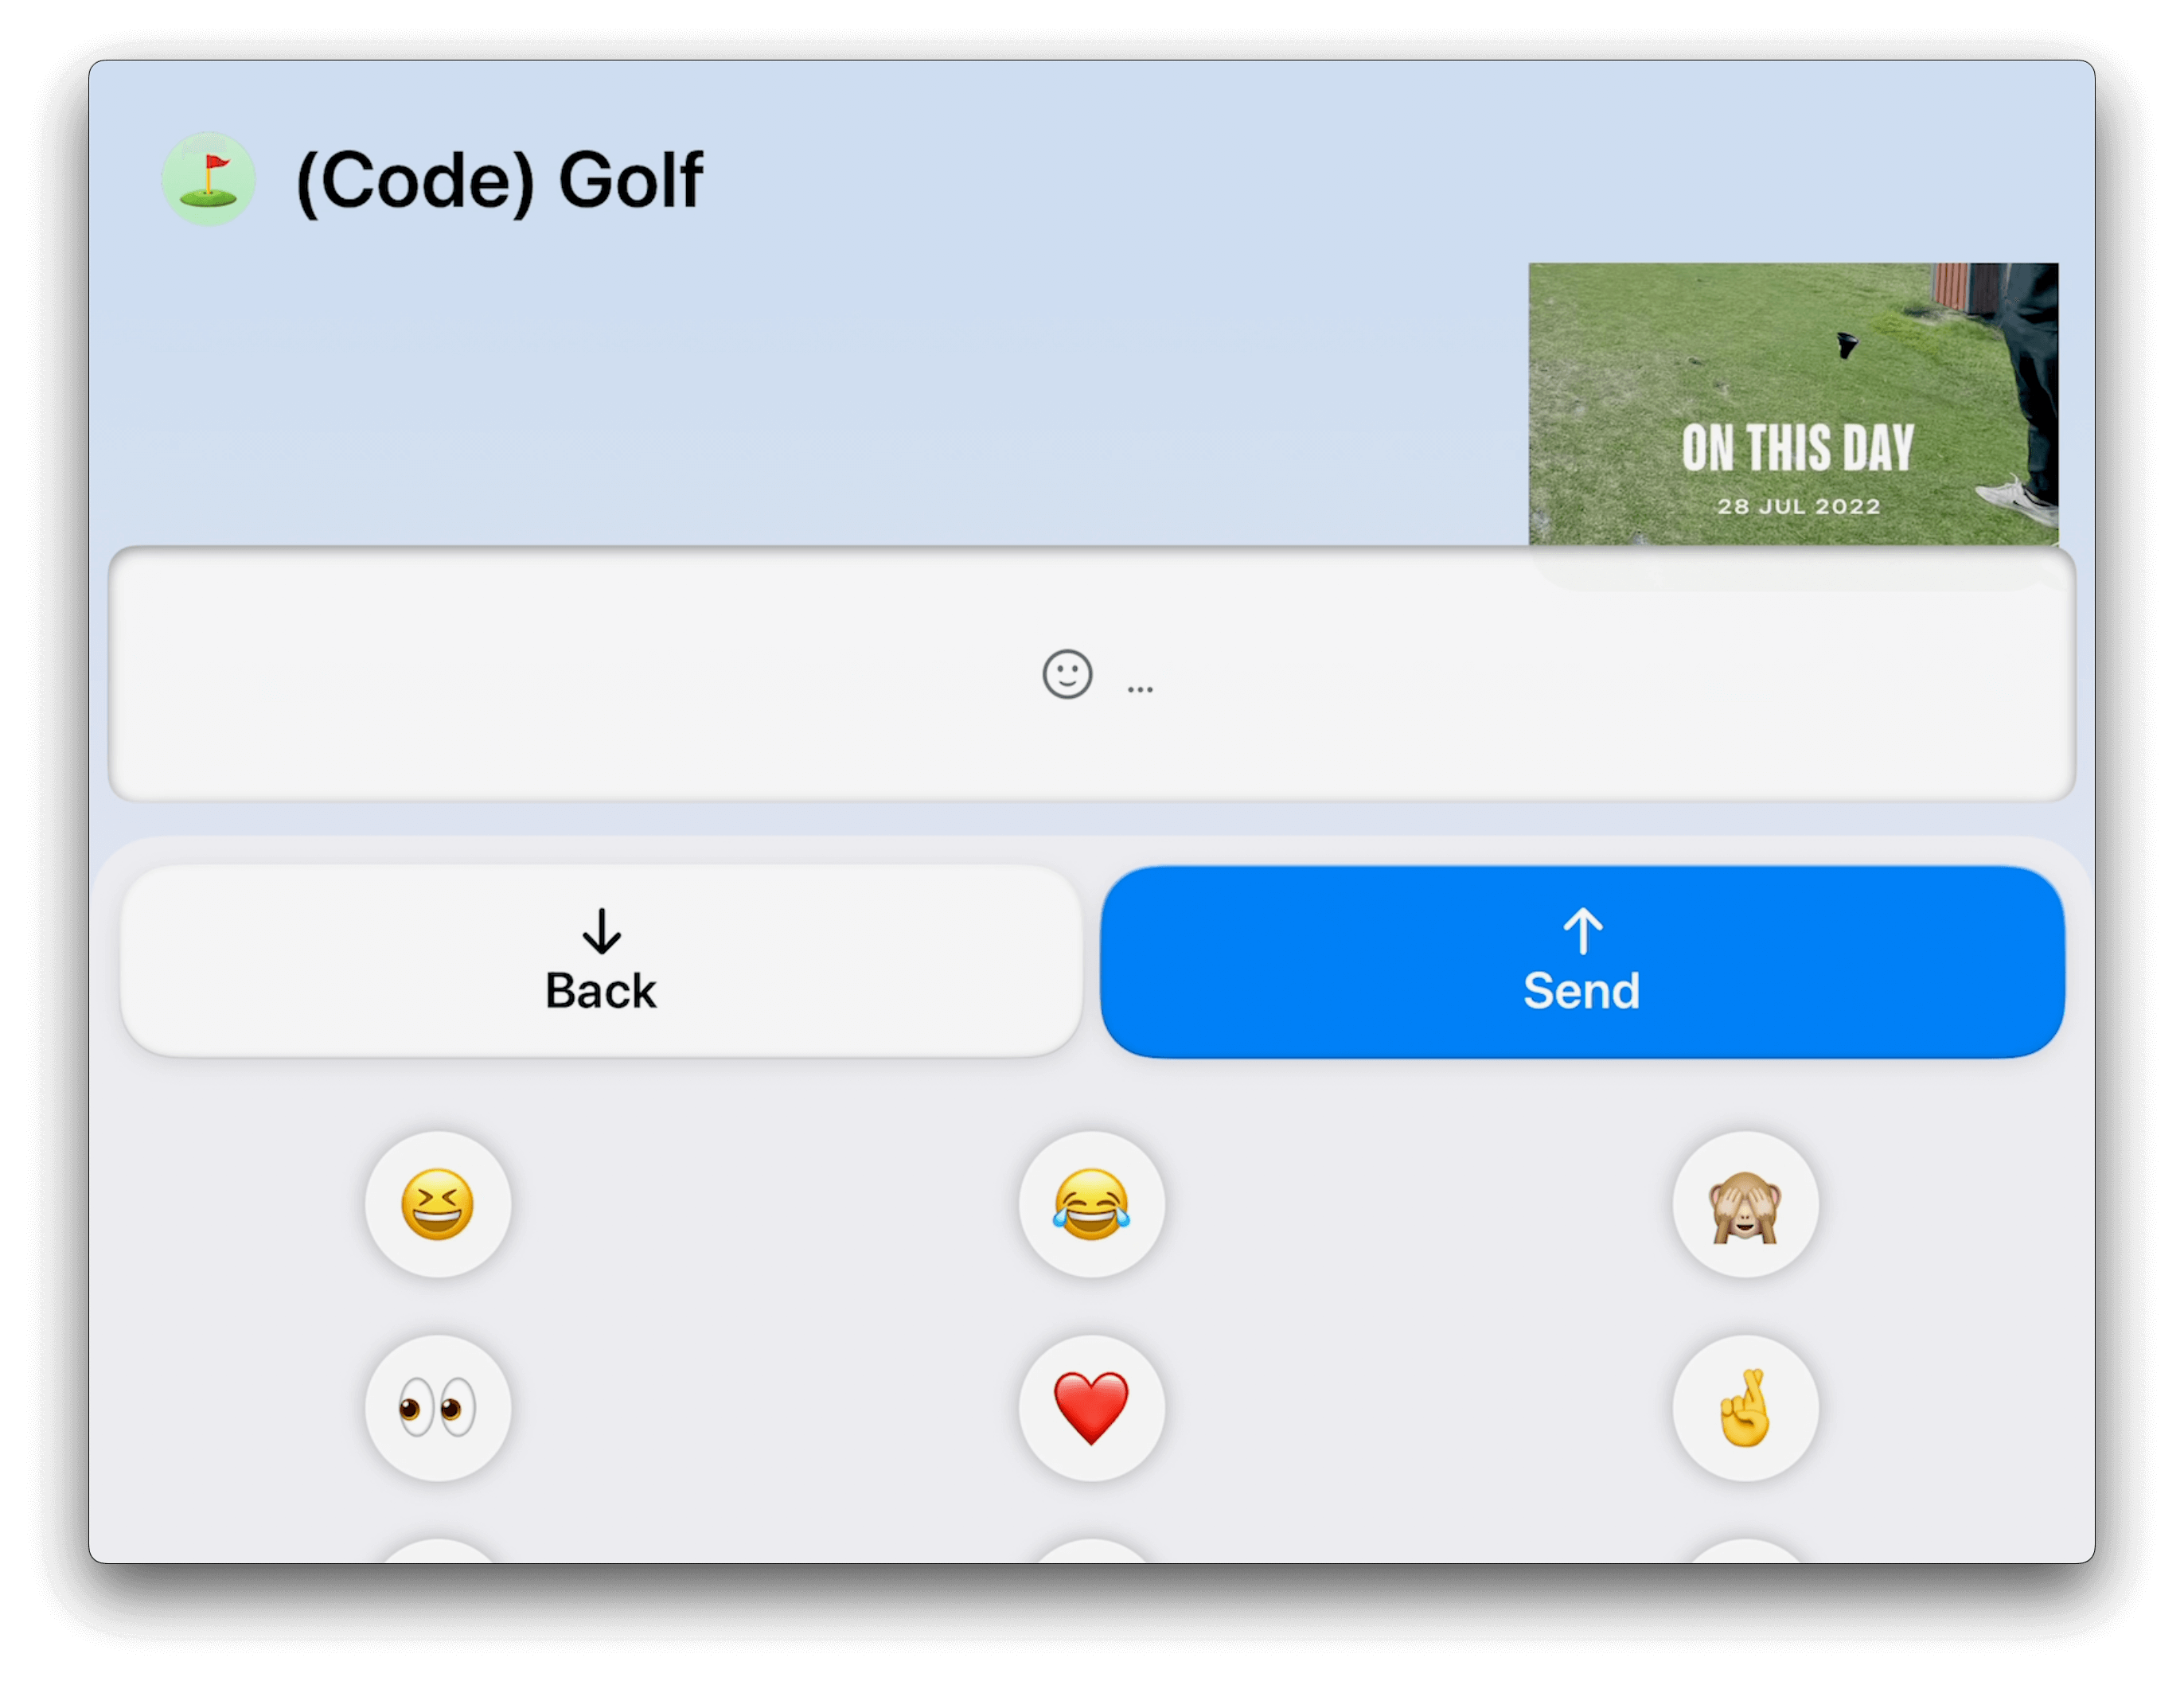
Optimized apps see a similar layout to the grid appearance set, creating a similar experience to the “home screen”. Like Messages here, for example.
From there, we can enter a conversation and participate in it using, for example, the emoji keyboard.
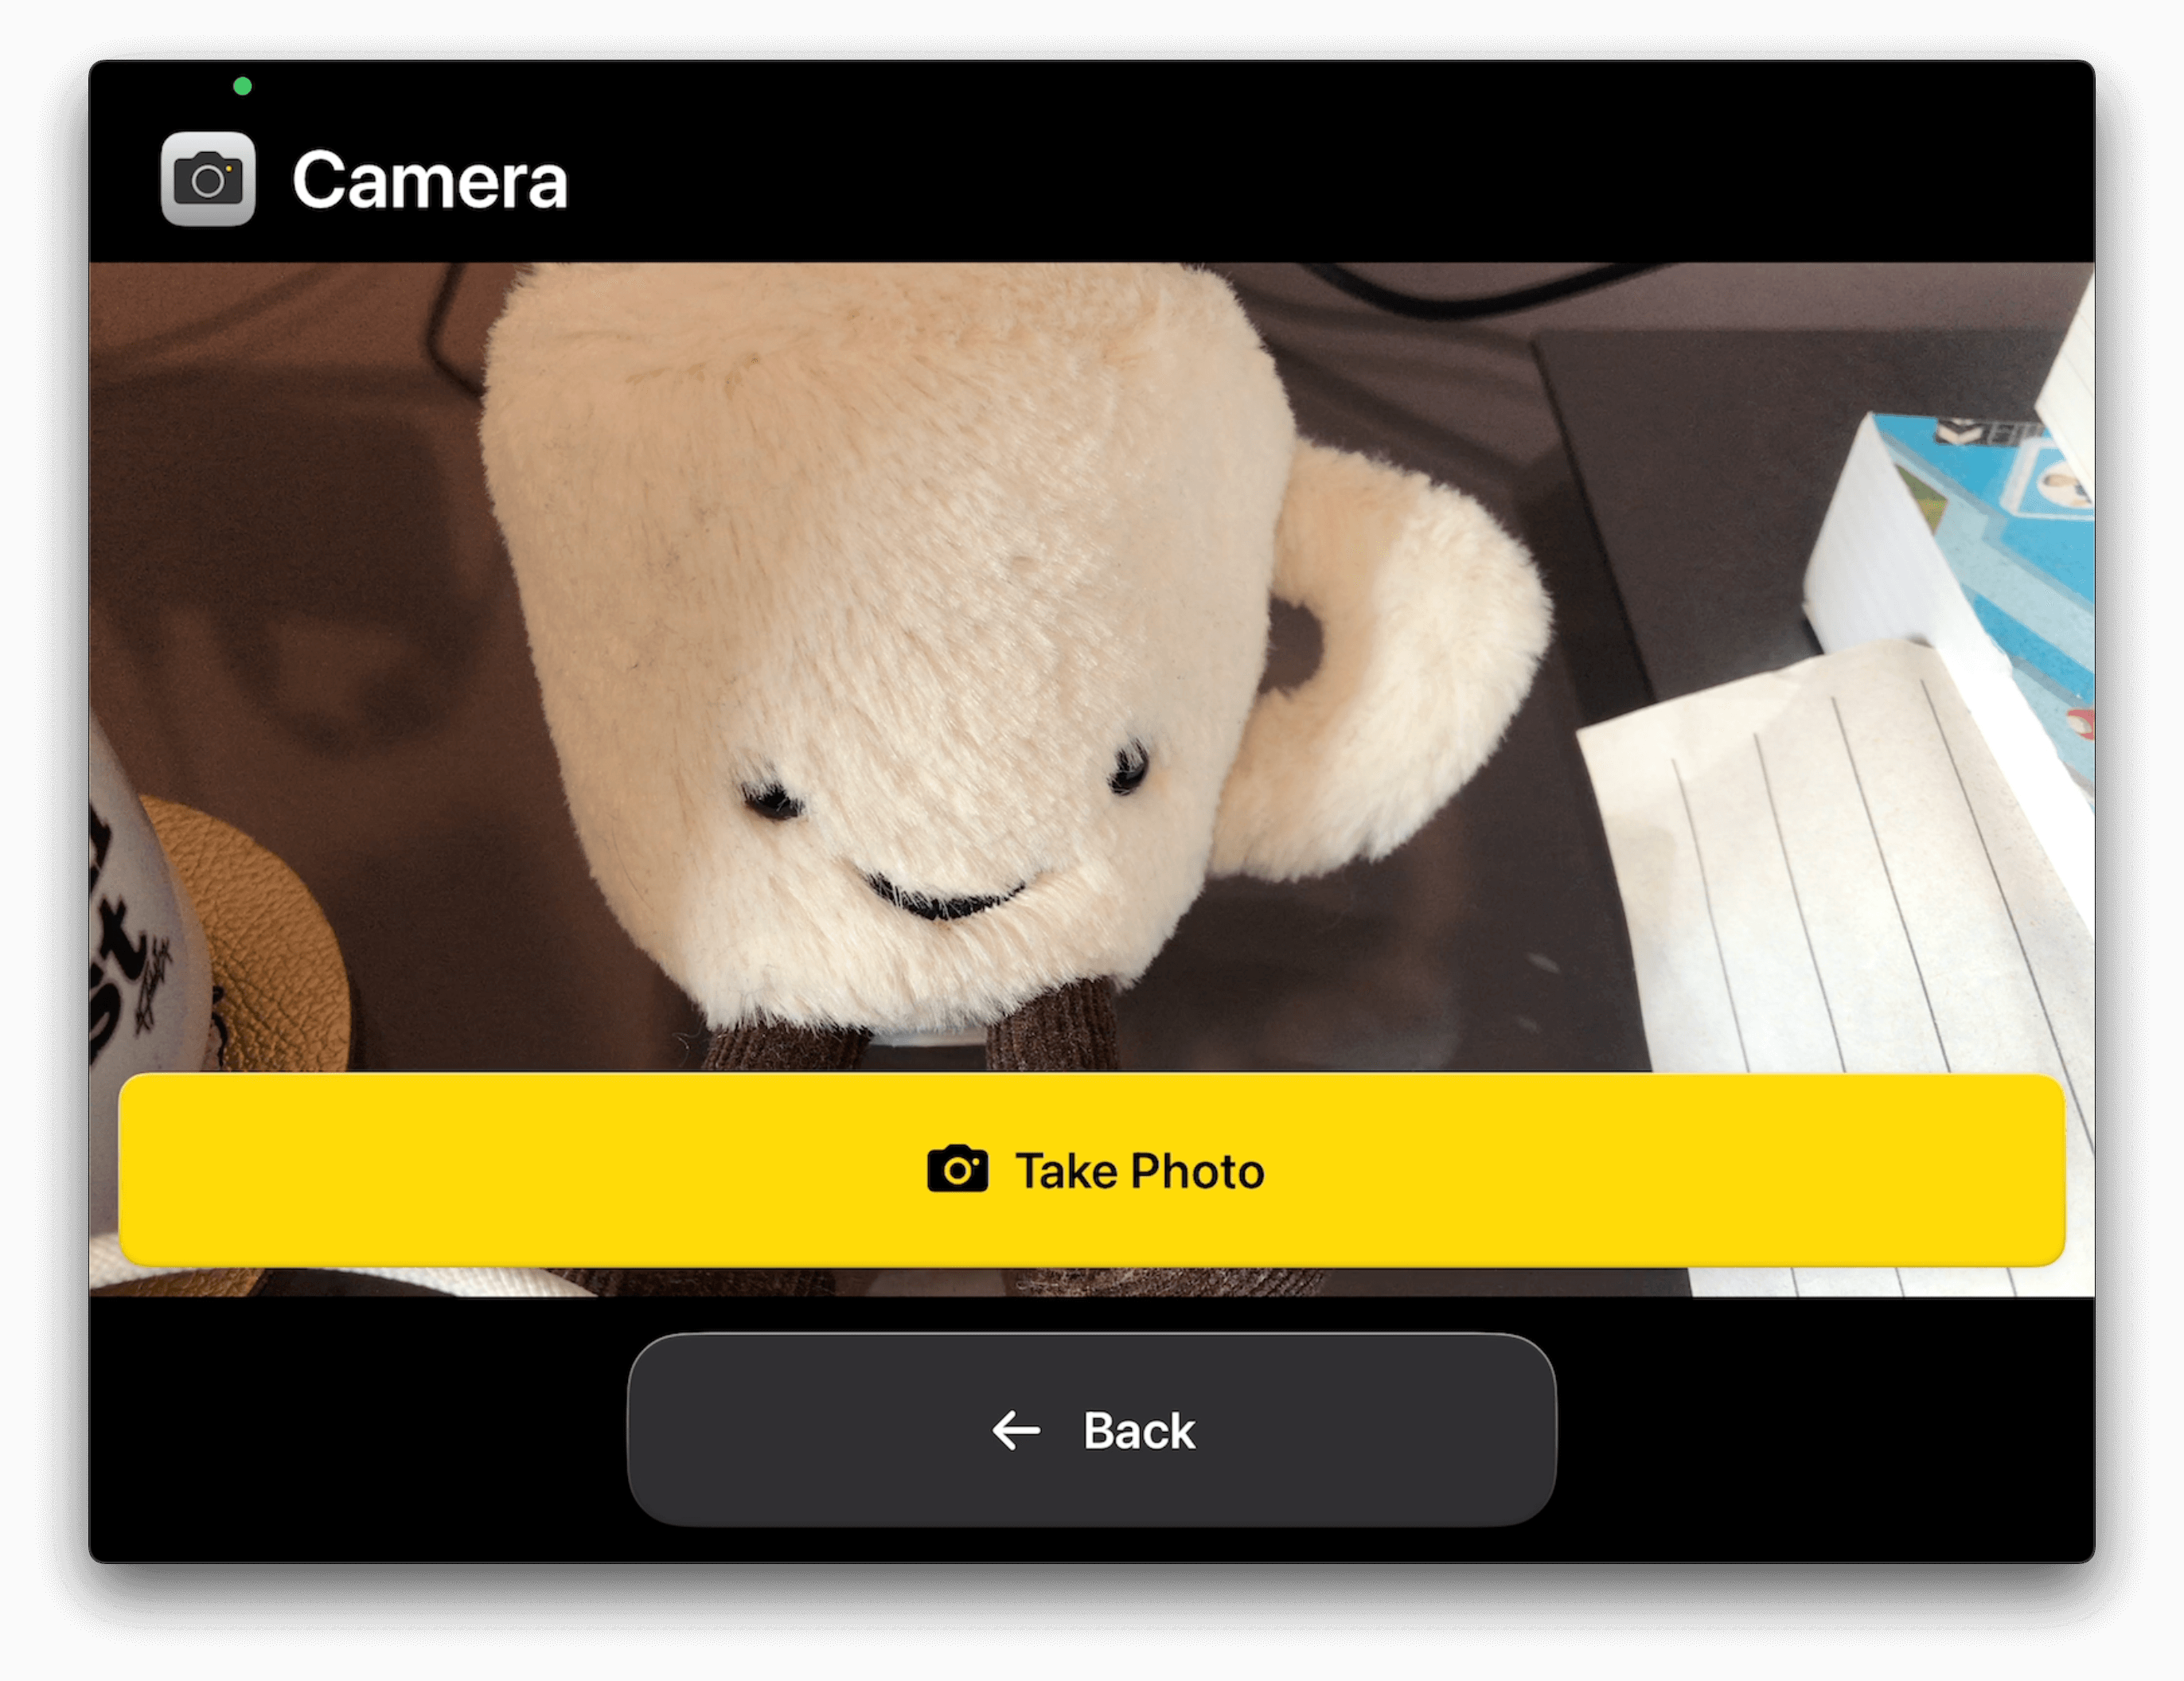
Camera
The Camera app is even cleaner and simpler than its (non-Assistive Access) counterpart. A view finder, and a “Take Photo” button. Easy as that.
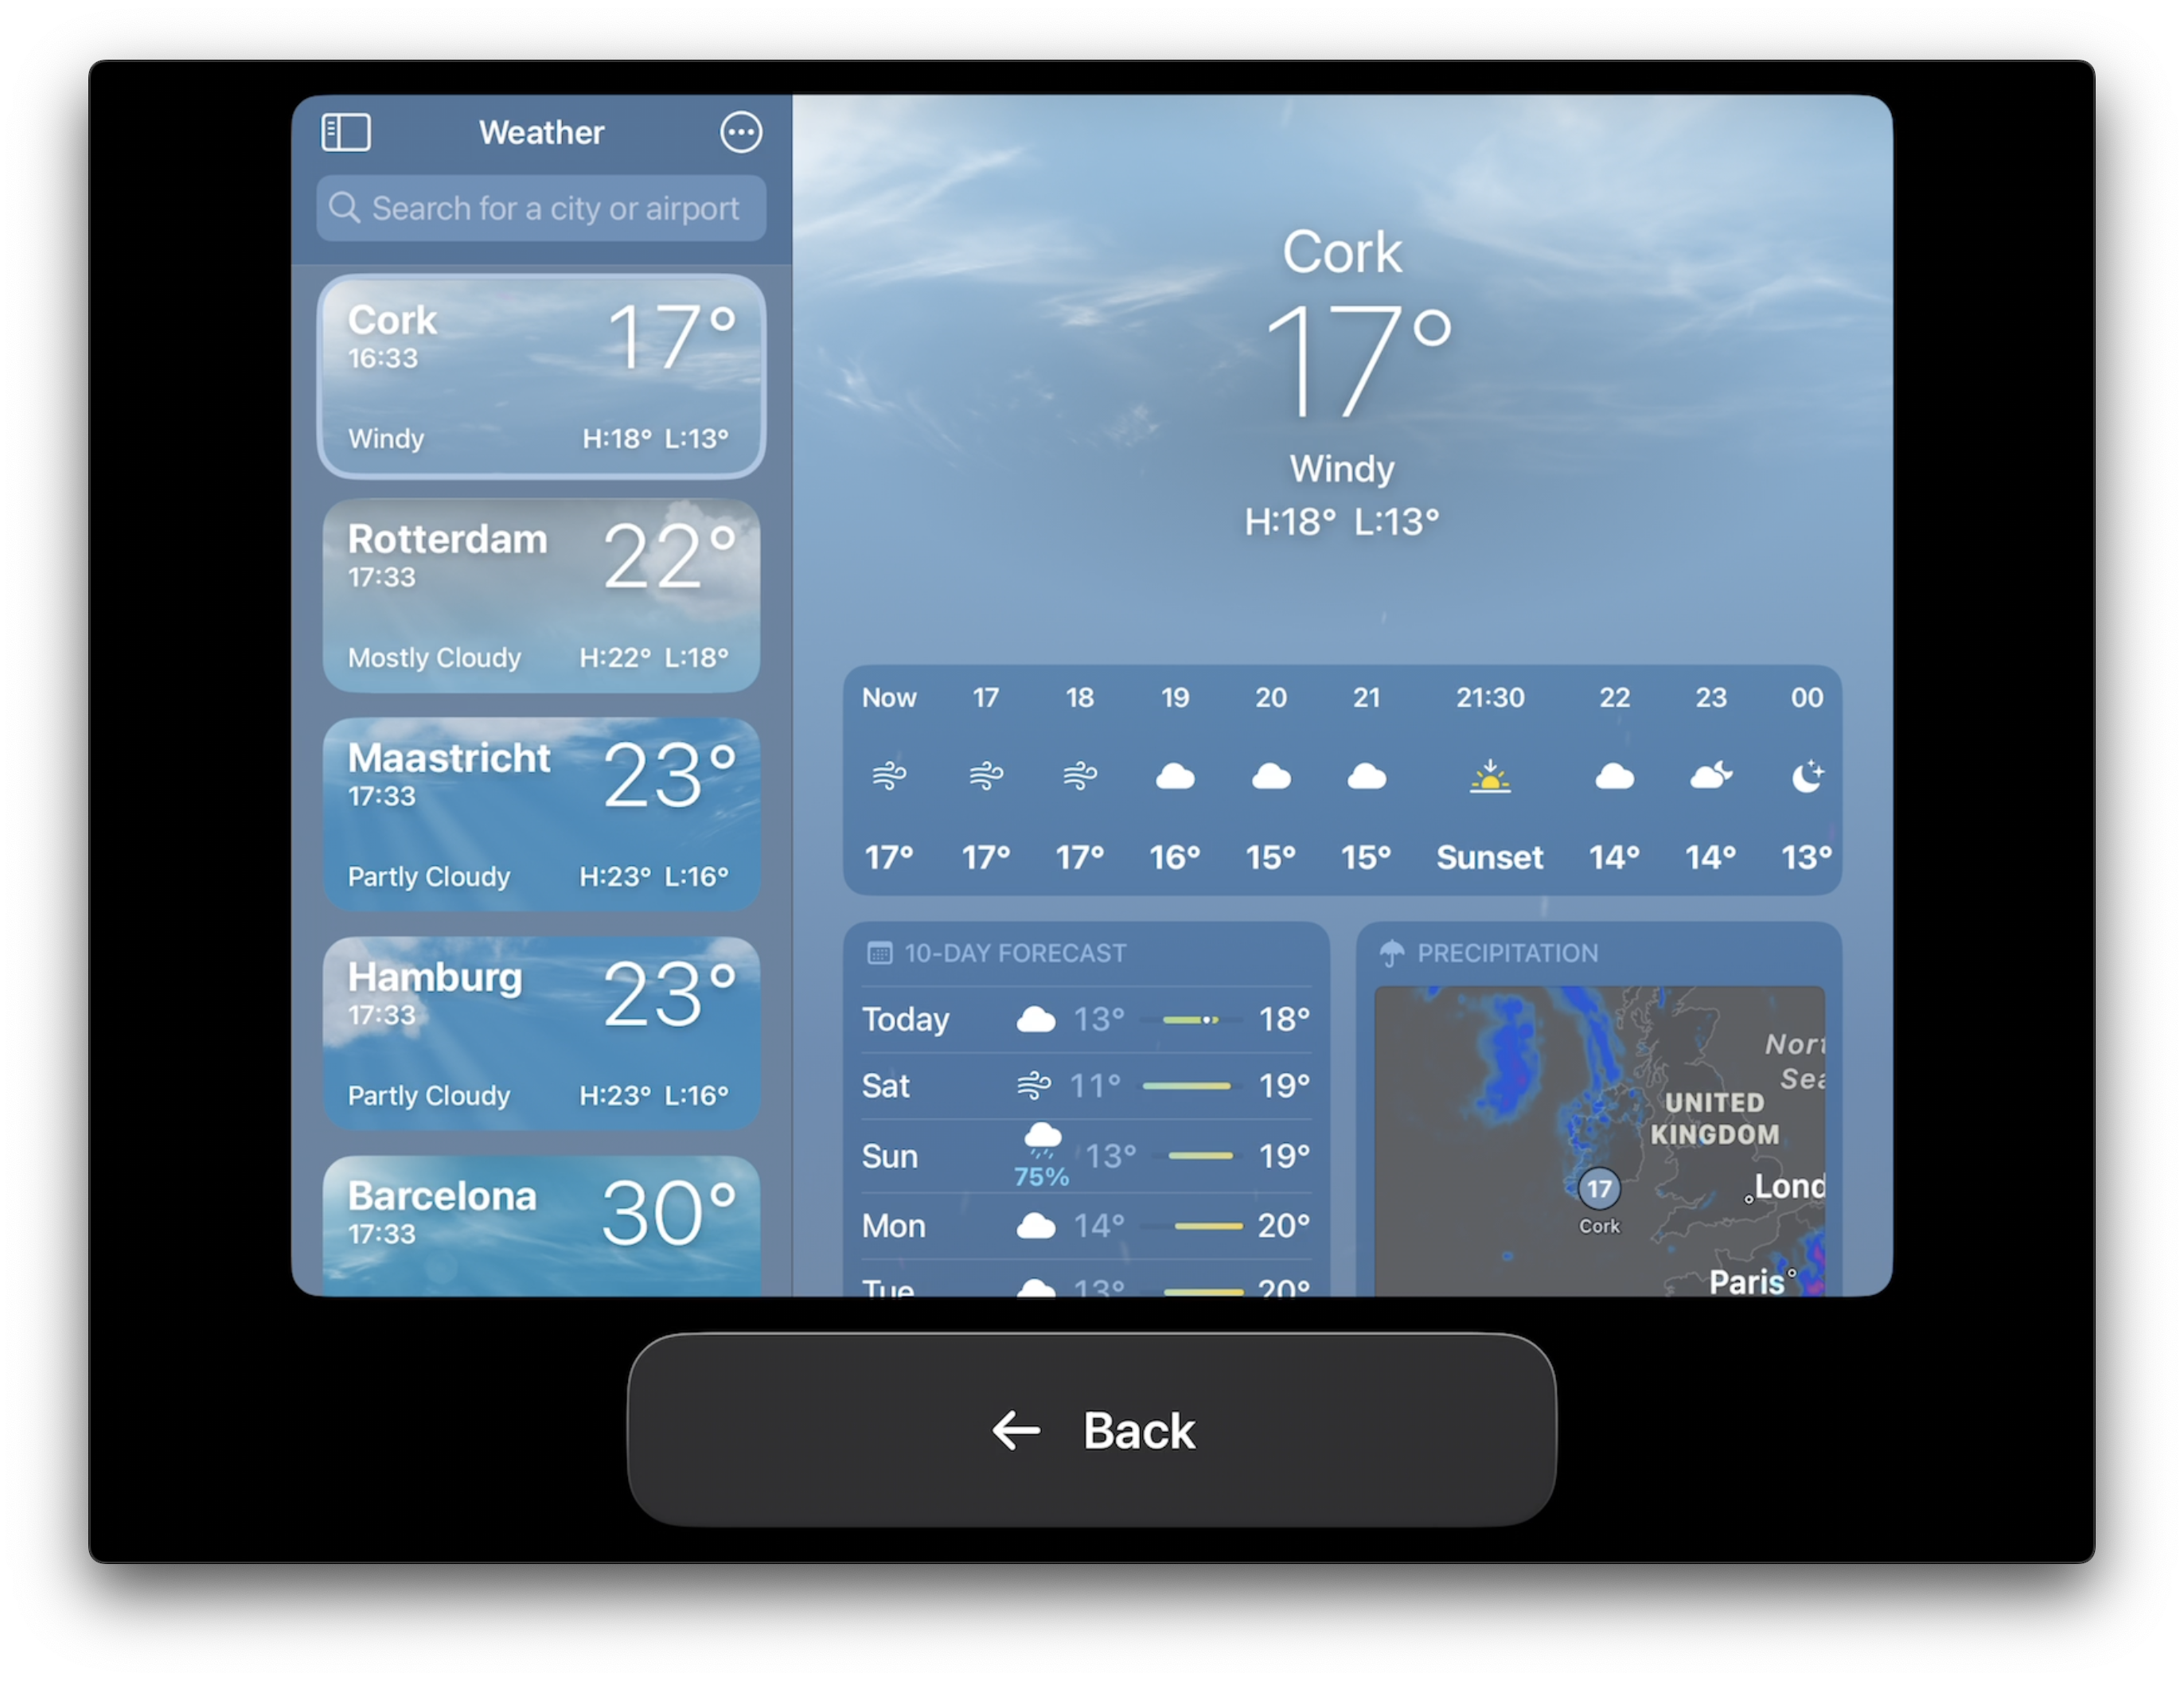
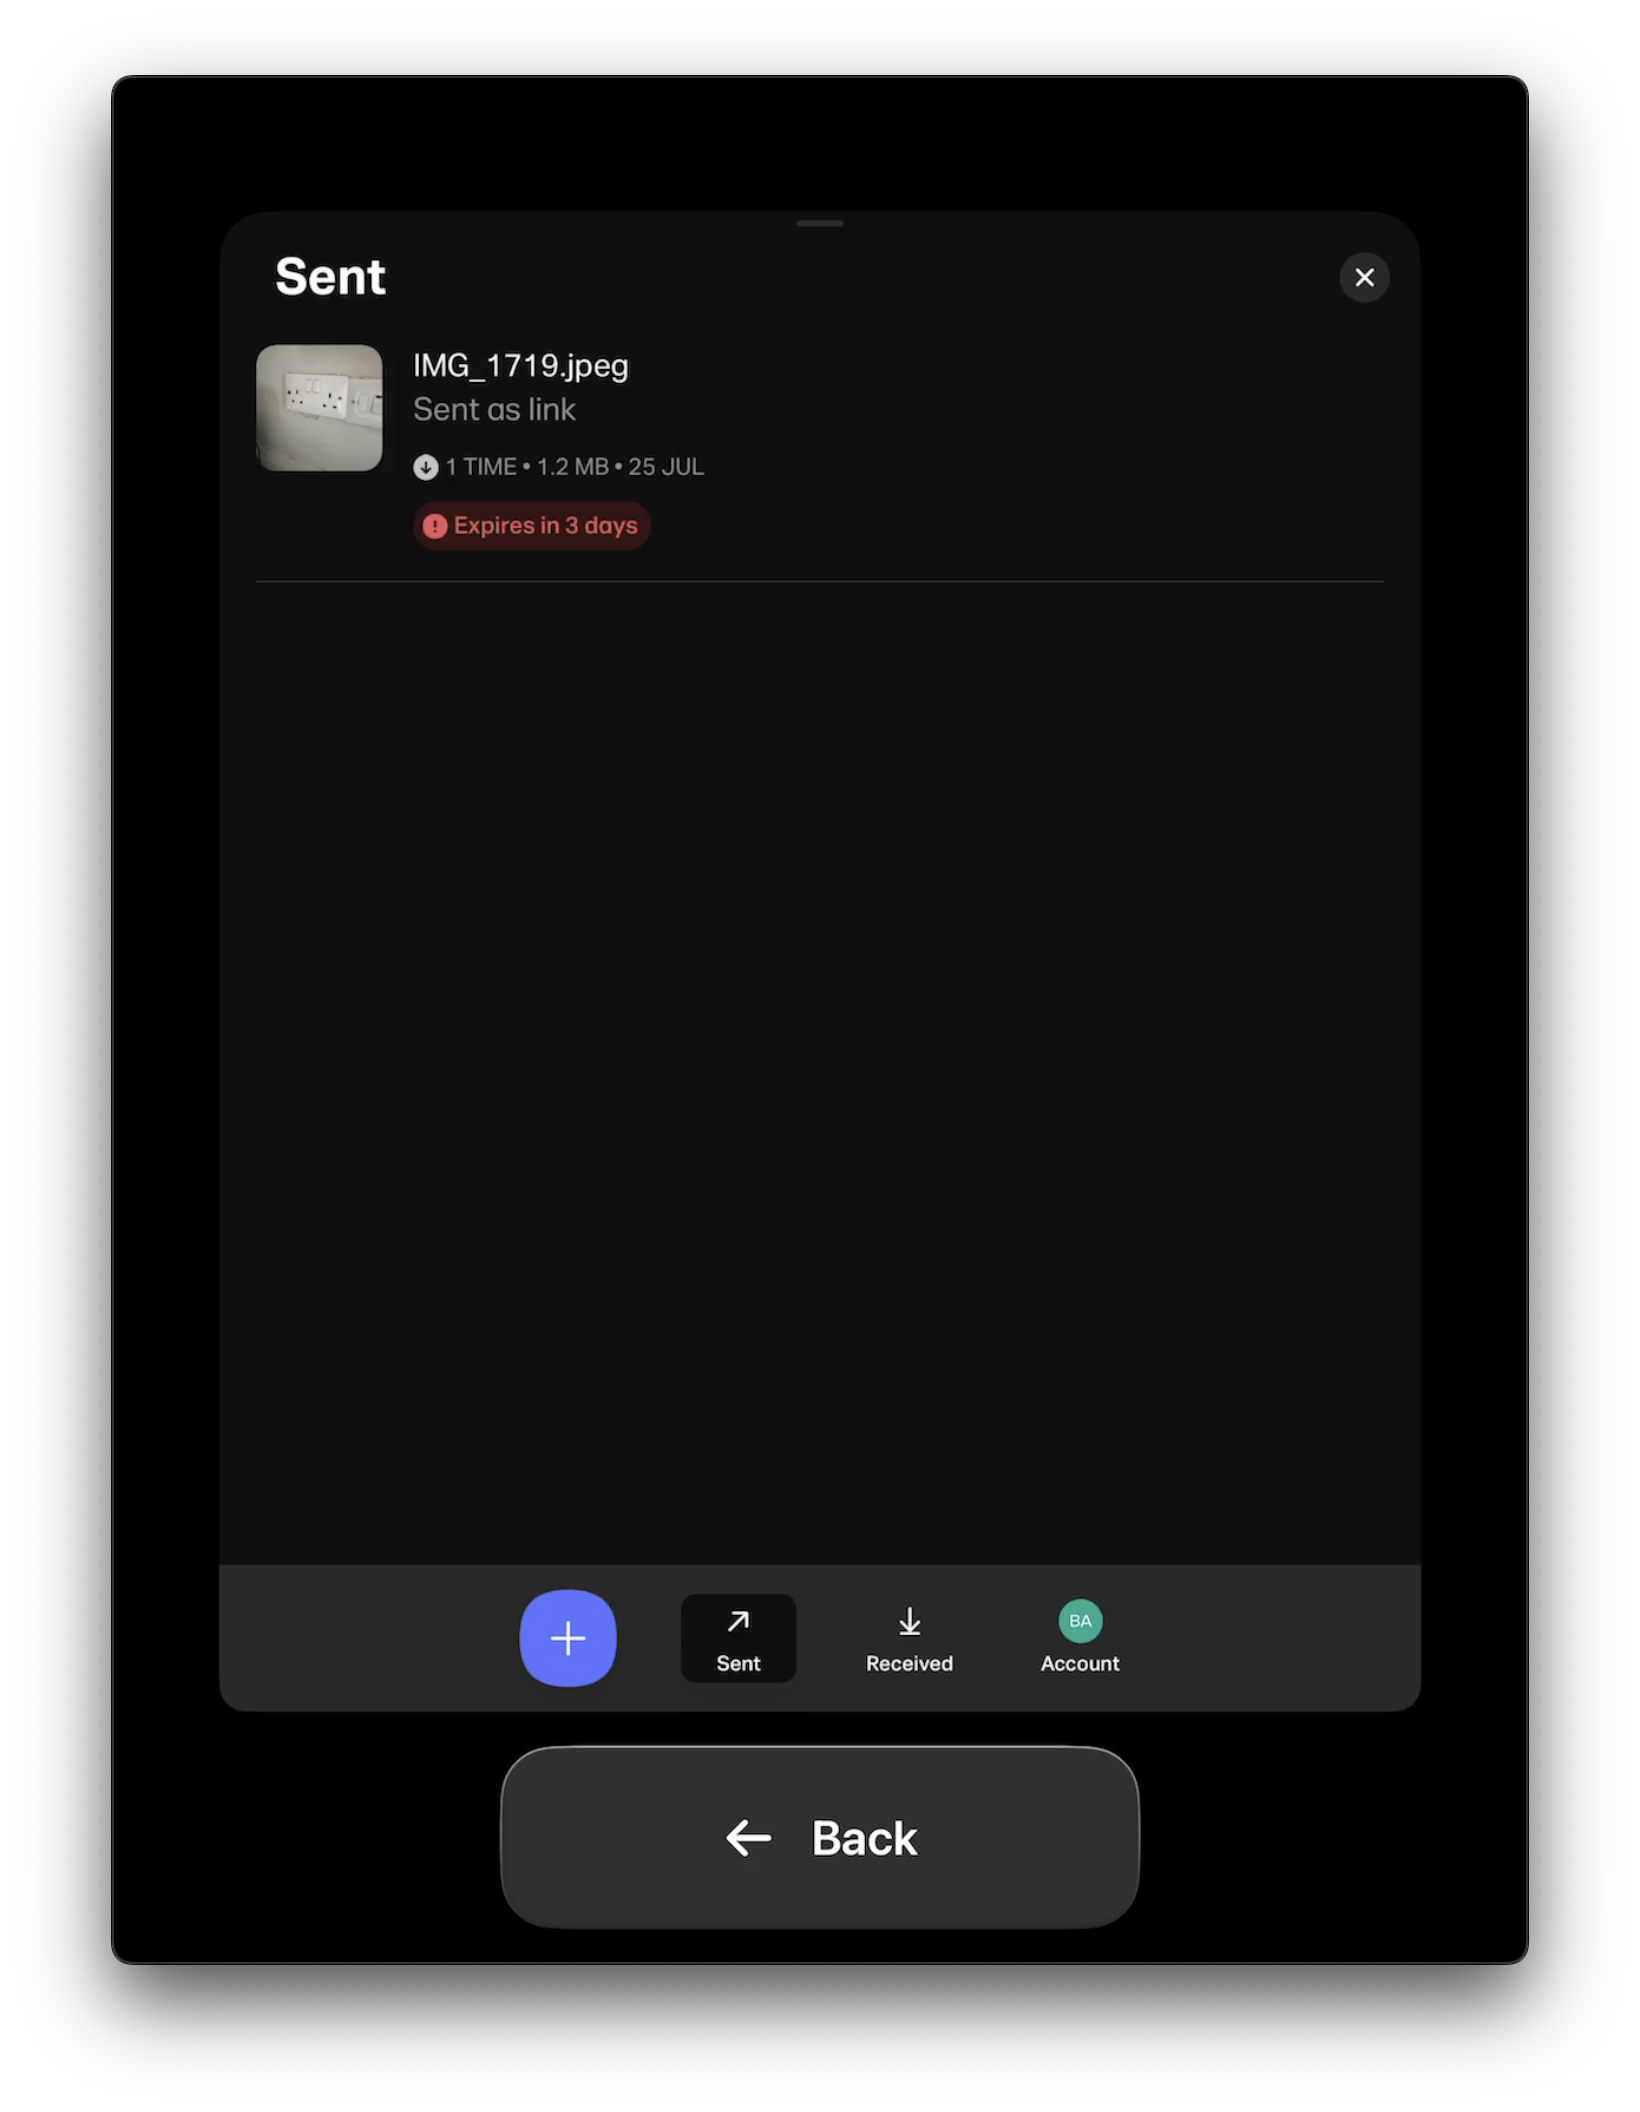
Non-optimized Apps
Looking at non-optimized apps… we immediately get a sense of just how large the gap in experience is between optimized apps and those that are not. Non-optimized apps only get a “Back” button that is not context-aware, but instead always goes back to the home screen.
What’s also interesting is that iPhone-only apps run in Assistive Access mode on iPad (which admittedly is quite an edge case) seem to “emulate” an iPad environment of sorts — and that iPad emulation may lead to UI bugs and crashes.
Final Thoughts
It can be seen that this mode is still under construction as there have been many improvements during the beta cycle, like supporting dark mode, tweaking how app settings can be changed, and more. It’s got a ways to go, but I’m beyond exited by this new assistive technology and what it can do.
Furthermore, I am so proud of all the people that have worked, and are working, on this new assistive technology. You know who you are; you rock!
And now we patiently wait for some more APIs to optimize third party apps..!
Thanks so much to James Sherlock for proofreading!